Let me just tell you, we were beyond thrilled when the gals of eighteen25 asked the Chicks to participate in their Spooktacular September! Especially to be included among such talented and creative bloggers? We jumped at the chance! Thank you so much for having me as your guest.
Lately I've really enjoyed taking something old/not-so-cute and turning it into something fabulous! And I've been needing a new wreath for my home for Halloween. There have been many darling wreaths featured here and all over blogland, but I decided to do something a little bit different--a SQUARE wreath! And I am sort of giddy with how it turned out. :)
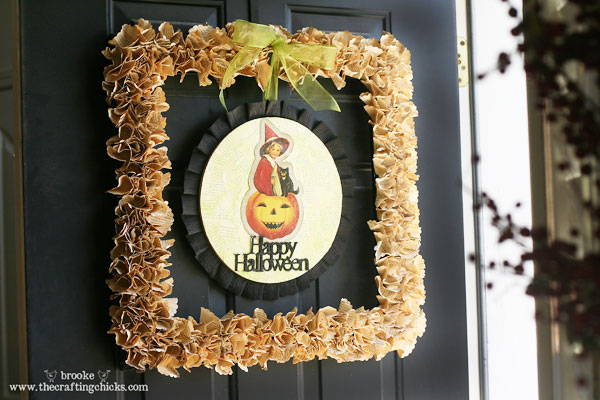
Check it out--my unique Vintage Halloween Square Paper Wreath! Wait until you see the "before." It was fun to do an extreme craft makeover here! :)
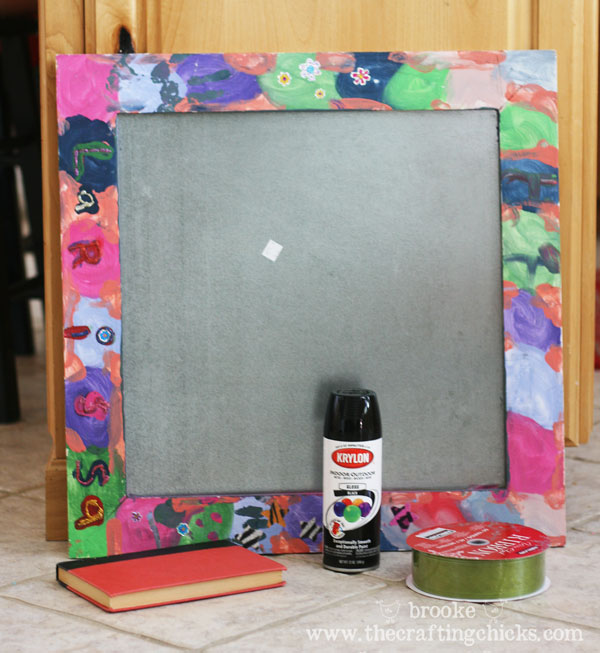
Here is the "before"! :) Oh, baby! As I was trying to come up with a project for this post, I went to a local thrift store (the D.I.) and found this lovely 23 in.x.23 in. framed magnet board for a few dollars, along with an old book. I already had the black spray paint from other project as well as the shimmery green ribbon. I knew this would be a perfect frame for my square wreath creation, with a little bit of creativity and imagination, and a little bit of work. :)
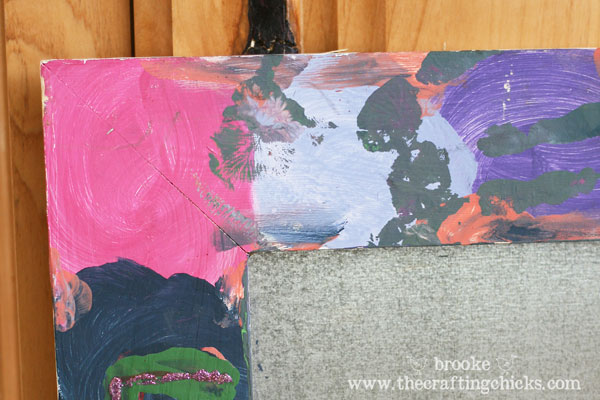
Somebody had lots of fun painting this frame, but unfortunately it did not fit my color scheme. :) I popped out the magnet board (saving it for a future project, of course!) then sanded down the frame a bit, and sprayed the whole thing with black spray paint. Then I let it dry completely. You could use any frame you have laying around or find at the thrift store for cheap.
For the wreath portion of this project, I went back to my childhood crafting days---did you ever do art projects in elementary school using squares of crepe paper wrapped around the end of a pencil and then dipped it in glue and stuck it onto paper in bunches?? Anyone?? Well, I used that same technique for my square wreath, using the frame and paper from an old book. It was fun!
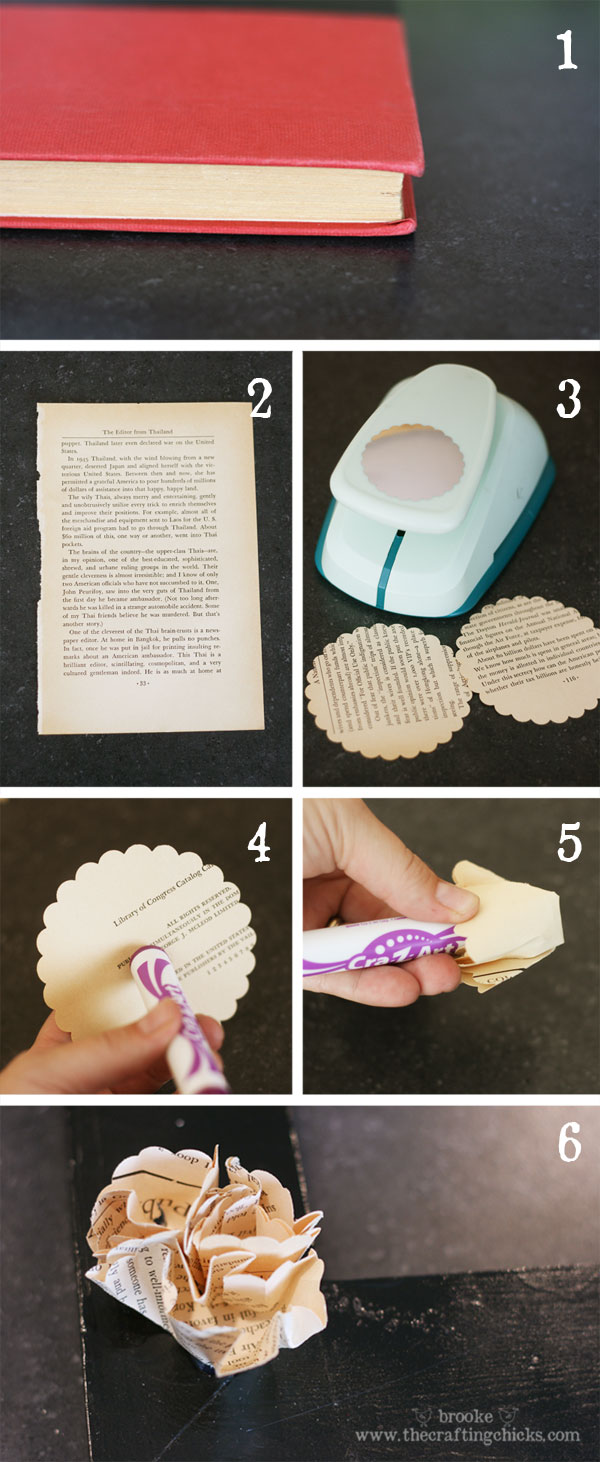
Instructions for creating the square wreath using a frame and some old book paper:
Step 1: Find an old book.
Step 2: Tear out pages of the book.
Step 3: I punched out 2 scalloped circles from each page with my punch. It is about 3.5 inches in diameter.
Step 4: Borrow a marker from one of your kids and place it in the middle of the scalloped circle.
Step 5: Carefully wrap the circle around the end of the marker, leaving the bottom flat.
Step 6: Apply hot glue to the flat part of the bunched up paper, and glue it to the frame. Repeat this with each scalloped circle and glue them close to one another to cover the entire frame.
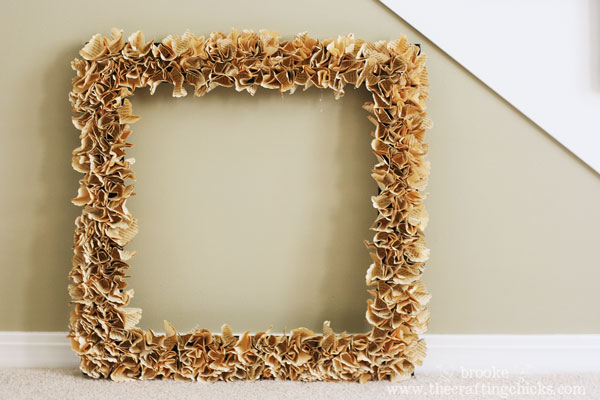
This is how it looked once it was completely covered with the bunches of paper. Already making me happy. But it needed something more. After all, it is a pretty large frame, nearly 2 feet by 2 feet in size. I needed something to go in the middle and I wanted it to fit in with the sort of vintage vibe of the wreath.
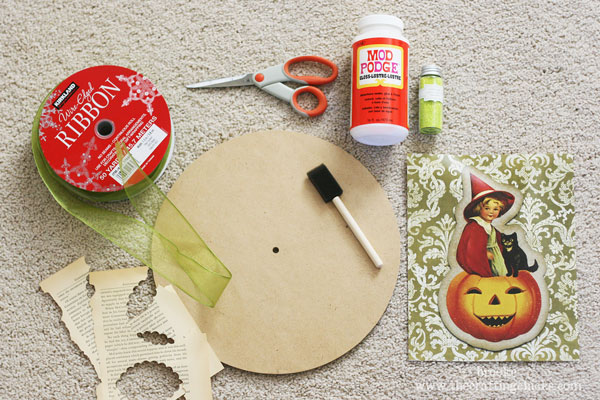
These are the supplies I used to create the hanging center circle portion of the wreath:
- a round piece of wood or cardboard (I had this unfinished clock face from a few years ago just waiting to be made pretty!)
- a vintage Halloween print
- scraps of leftover old book paper (I felt so eco-friendly, using every bit of that old book!)
- Mod Podge
- craft brush
- scissors
- glitter
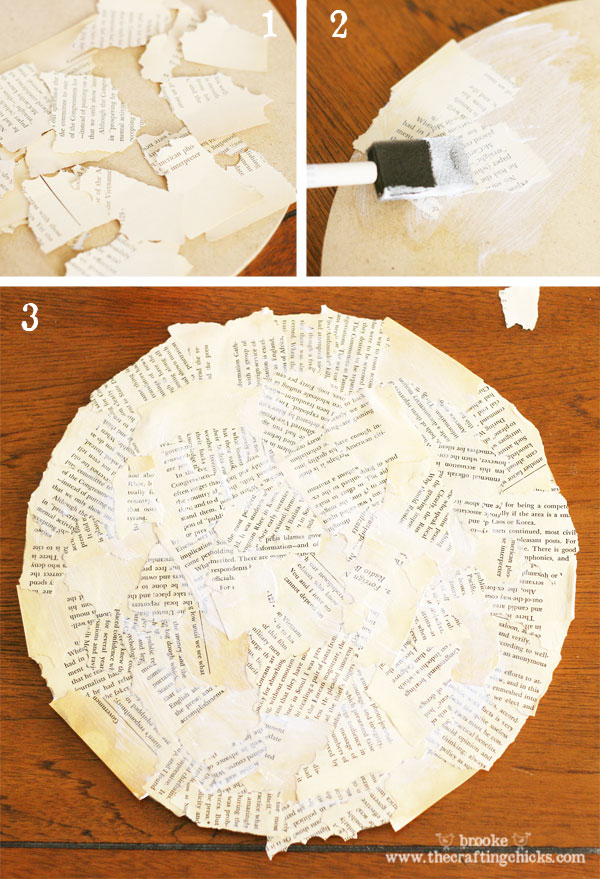
Step 1: Tear scraps of old book paper into pieces.
Step 2: Apply a thin layer of Mod Podge to the circle wooden base, then brush another thin layer on top of the pieces of paper to glue them down.
Step 3: Continue Mod Podging paper pieces until the entire circle is covered. It will dry clear.
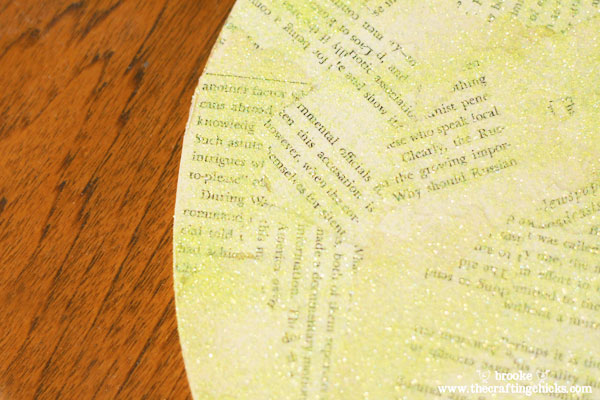
Then I used some spray adhesive on top of the whole circle, and covered it with lime green glitter for an extra special touch. :)
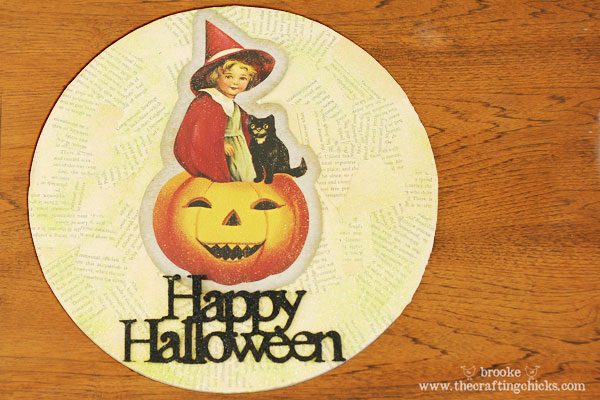
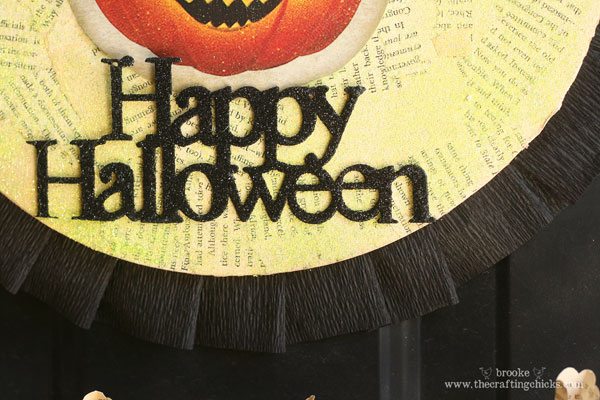
I cut out the little witch and pumpkin picture and used Mod Podge to apply it onto the circle. I also had this glittery little "Happy Halloween" decoration from last year in my Halloween stash and thought it was the perfect touch. I added it with some dabs of hot glue.
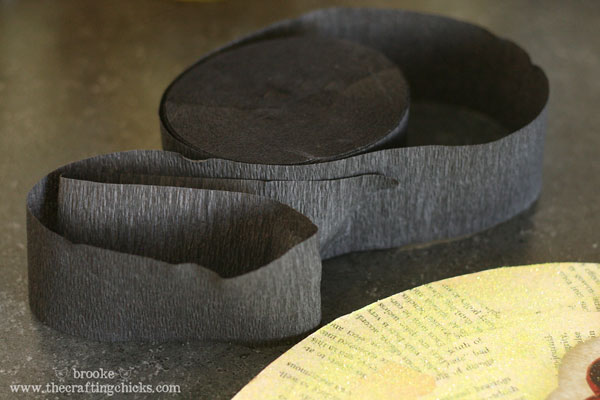
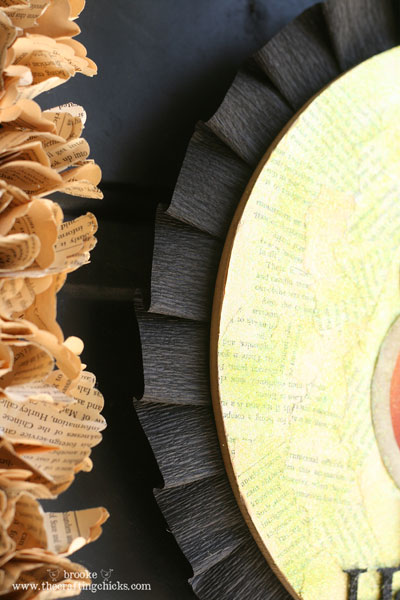
Then I used some black crepe paper (also left over from past Halloweens) to add a cute pleated ruffle around the circle.
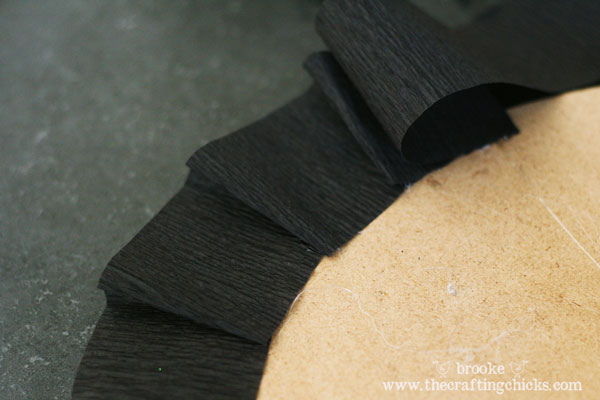
I hot glued the crepe paper to the back of the wooden circle, folding it back every 1.5 inches or so and gluing it down until the circle was done.
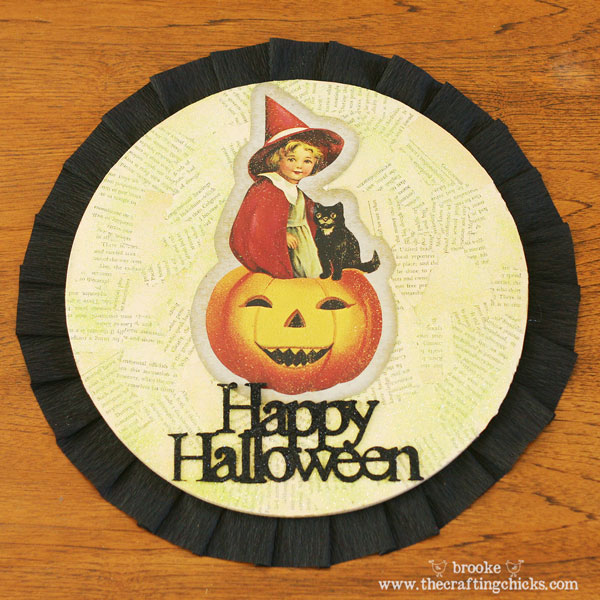
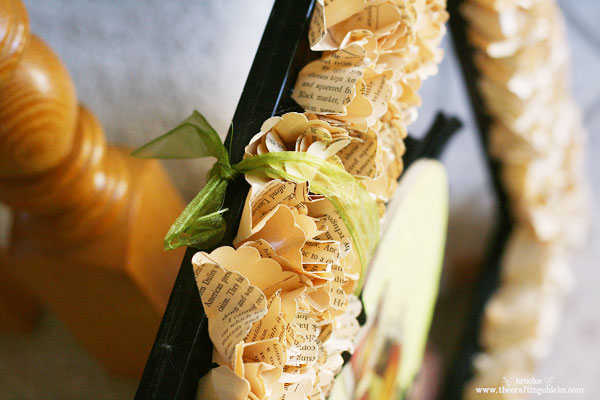
Now it was time to attach the circle to the square frame. I attached a photo mount to the back of the wooden circle and used some pretty green ribbon and tied a knot to secure it to the frame. Then I tied a big bow with the green ribbon and hung it on my front door. And then I squealed with excitement! :)


Oh, and then I decided it would also look cute hanging on my wall inside my house. So we shall see where it ends up. :) The black crepe paper does show up better on the wall.
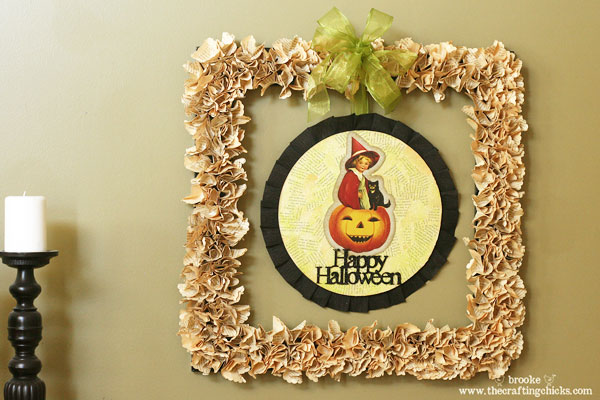
I'm really happy with how my unique vintage Halloween wreath turned out, and it only ended up costing less than 10 bucks for the entire thing! The fun thing is that now I can change out the inside hanging circle for different holidays. I'm already trying to come up with Thanksgiving and Christmas designs. :)
Thank you so much for letting me visit on behalf of The Crafting Chicks, dear eighteen25 sisters!
****************


No comments:
Post a Comment