

Confession: I started making this Halloween Candy Wreath in October 2012. I ran out of candy the day I started it, so I set it aside and pretty soon it was too late to hang it- Halloween had come and gone. It sat unfinished in my craft room covered by newspaper until I finally finished it on November 2, 2013 (over a year later!) My husband kept threatening to throw it away, but I am so glad he didn't because now, 2 years after the fact, I have a super cute wreath with the ultimate procrastination story to go along with it! I am kind of surprised it lasted as long as it did before I put any protective spray over it- I will try not to think about all the preservatives these candies must come drenched in the next time I eat them. For now, look how good this looks hanging on my door!
Here is how you make it....
Materials Needed:
- Wreath Form
- Orange Slice Candies (plan for about 3lbs of candy for a 10 inch wreath)
- Hot Glue Gun & Glue Sticks
- Ribbon
- Spray matte sealer
- Plastic Spiders
Directions:
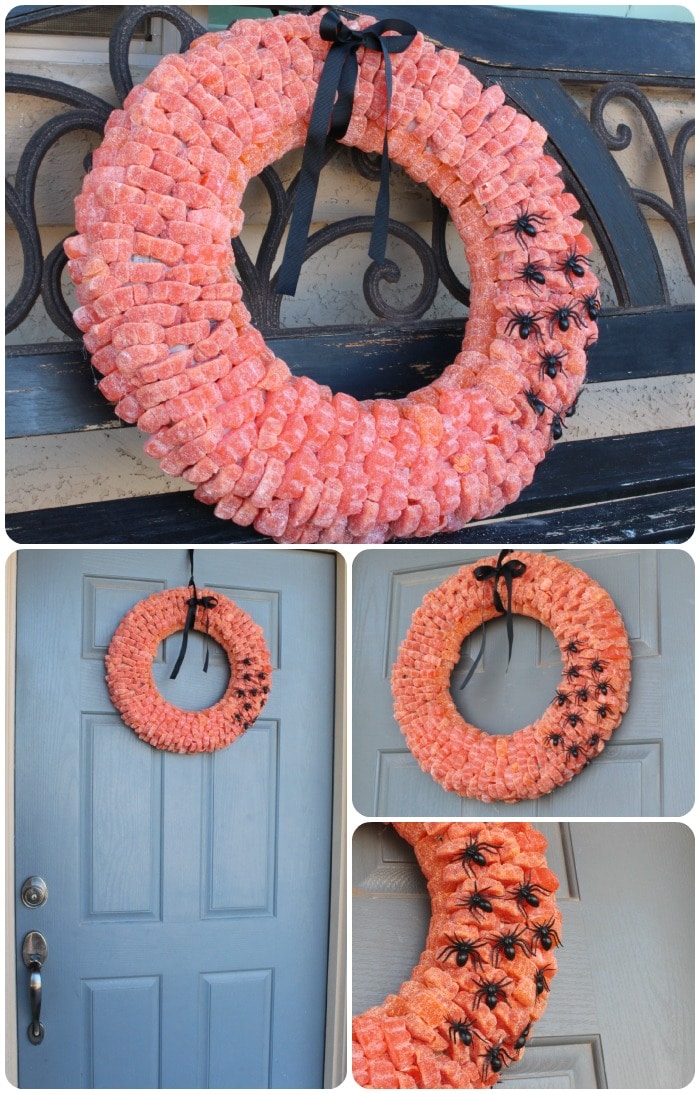
1. Go to town gluing the candy on, covering the wreath form.
2. After you finish gluing, spray the wreath with matte sealer to help preserve it.
3. Glue plastic spiders on top of the candy.
4. Loop a ribbon around the top of the wreath so you can hang it on your door.
And you’re done!

It probably goes without saying, but….
- This is an indoor (or on a sheltered door) decoration. Those pretty little candies need to be protected from the elements!
- Make sure to keep your wreaths out of reach of little ones or anyone else who might not understand it’s for looking, not eating!
Follow our every move on Facebook, Twitter, Google+ , Instagram and Pinterest and join us each Friday for our fabulous link party!
Have a Happy Halloween!!!


No comments:
Post a Comment