It's the moment you've all been waiting for... the 10th of the month! Today we will be appealing to your naughtiest sweet tooth, because this month's blog hop is all about CANDY: candy crafts, candy recipes, candy printables... candy, candy, candy! So, pull up a seat and get ready to have your cravings triggered by 10 original posts, provided by 10 delicious bloggers. Pin your heart out, my friends.
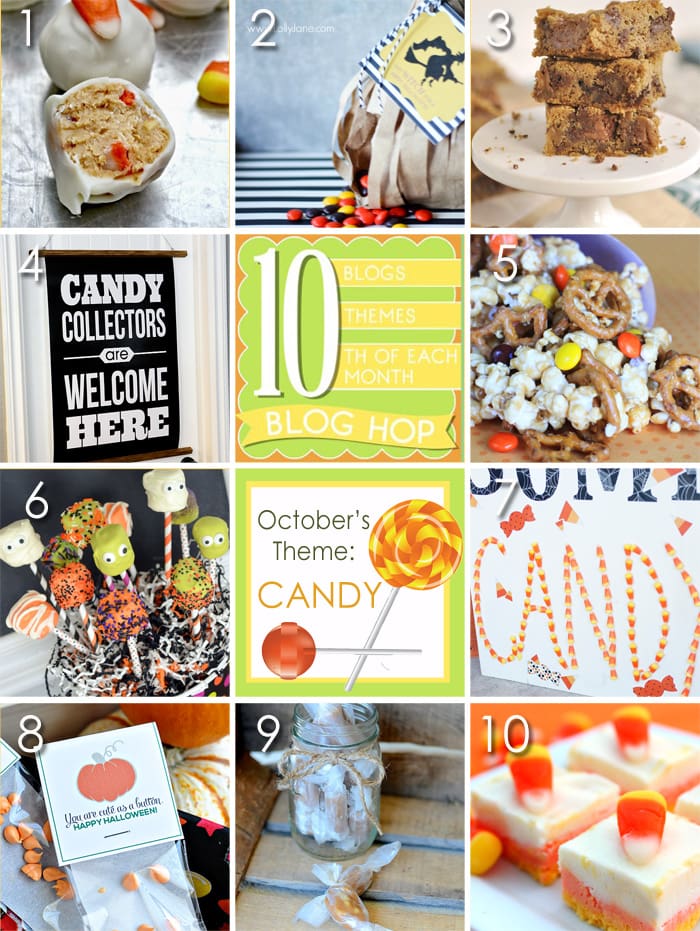
1. 'Or so she says...' // White Chocolate Candy Corn Buckeyes
2. Lolly Jane // Witch's Broom Candy Bag and Printable
3. Your Homebased Mom // Milky Way Bars
4. Eighteen 25 // Candy Collectors Halloween Printable
5. Landeelu // Reeses Pieces and Pretzel Popcorn
6. Little Miss Momma // Candy Covered Halloween Marshmallow Pops
7. Capturing Joy // Halloween Candy Porch Sign
8. Thirty Handmade Days // Halloween Candy Buttons and Printable
9. Simply Kierste // The Best Homemade Caramels
10. Six Sisters' Stuff // Candy Corn Fudge
Here is our Candy Project...
Candy Collectors Halloween Print

Download the 20x30 Candy Collectors Print HERE
(we printed this one off at Costco for $8.99)

Download the 24x36 print HERE
(we printed this one off at Staples as an engineer print for a little more than $3)


This would look great hanging on your front door on Halloween Night or up in your house all Halloween season long!!
_________________________________
this post is sponsored by:

(we printed this one off at Costco for $8.99)
Download the 24x36 print HERE
(we printed this one off at Staples as an engineer print for a little more than $3)


This size can easily be framed if you want to skip the wood pieces.
SUPPLIES:
• print of your choice
• wood strips - for the 20x30 print, we used a 4' square dowel and had it cut in half at home depot - for the 24x36 print, we used two pieces of 1.5x2' alder hobby board
• stain (or paint) and foam brush
• screw eyes
• twine
• flat thumbtacks
• Cut your wood pieces either to the same length of your print or 4" extra like on our 20x30 print.
• Stain your wood and let dry.
• Screw your screw eyes into the top of one of your wood pieces.
• We used flat thumbtacks to attach the prints to the back sides of the wood pieces. We are hoping to pull the thumbtacks out and store the print safely for next year.
• String the twine through the screw eyes. Tie both ends.
• HANG!
This would look great hanging on your front door on Halloween Night or up in your house all Halloween season long!!
_________________________________
this post is sponsored by:


No comments:
Post a Comment