Today we are super excited to share a project by Missy from the blog How Does She?
If you haven't visited their blog yet, head on over!
They sew, they work with wood, they throw great parties, they do just about everything!!
and they do it well!
You're going to LOVE all the great stuff you'll find there.
************
SpOOky BOO bags
You can make these fun spOOky bags and fill them with treats for your kid's school teacher, the bus driver, the music teacher, the secretary, the principal, your boss, your friend...whoever! or use them for... SPOOKING YOUR NEIGHBORS! You have all probably been booed in your neighborhood in the month of October. If not, click here to read about how to do it. Now you can make these festive bags that are perfect for filling with treats and traveling around the neighborhood! You can just hang it right on your neighbor's doorknob.
Ring and RUN!
My kids love this tradition because they get the thrill of being sneaky, and the adrenalin rush that goes with it! For this project you will need: -a pair of scissors -3 pieces of felt for each bag -additional felt for the faces -heat and bond -various colors of thread (thicker is better, but not necessary) -a sewing machine (If you don't have a sewing machine, the pumpkin was actually done by hand with a blanket stitch.)
I even put together a FREE printable pattern for you! Click here to get it!
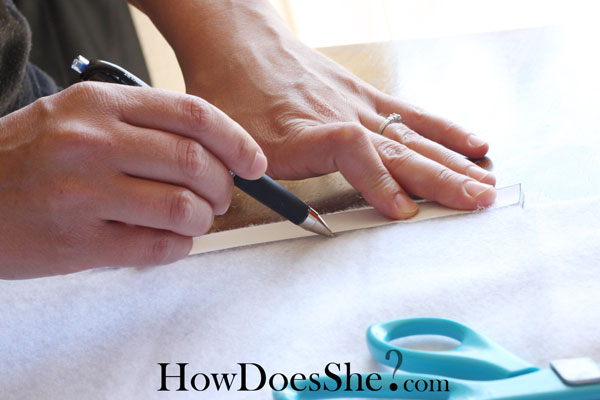
The pattern is for the bag and also for the faces of the cat and ghost. For other ideas, Pottery Barn Kids has some similar bags and you might find some inspiration:) Trace the squares onto the felt,
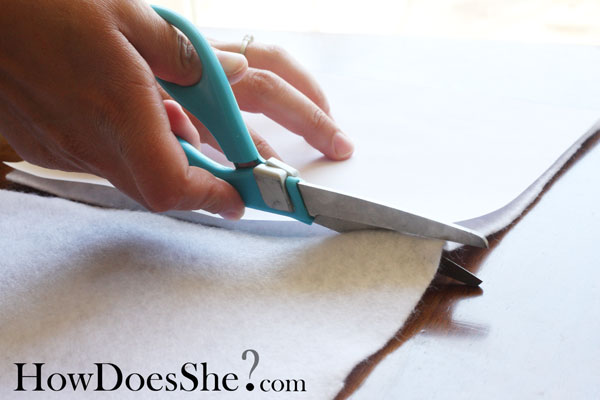
Cut them out
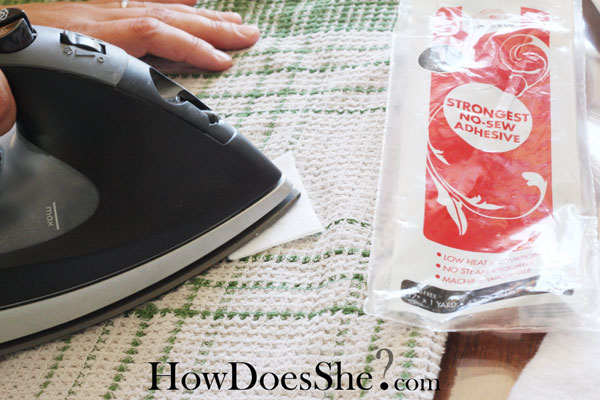
iron them onto the same sized heat and bond pieces,
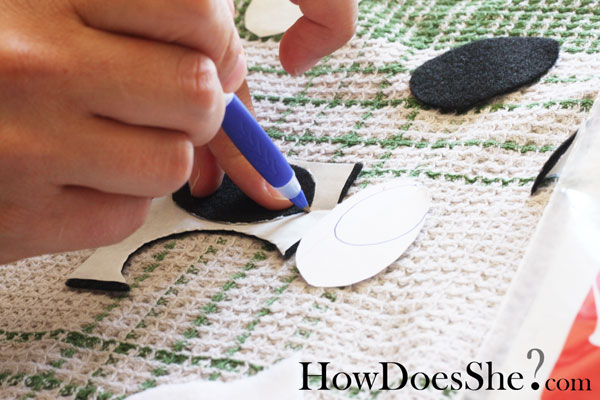
trace shapes on the back of the heat and bond paper,
cut out the shapes, and before you iron them onto the front of the bag, draw and sew your mouth on with a zig zag stitch. After sewing, if you didn't cover your pencil lines perfectly, just flip your felt over and...


line is GONE! :)


Now line up your pieces,
I did the biggest zig-zag I had. You'll want to start a quarter inch down, and use the presser foot to guide you. I wouldn't go any closer to the edge than the width of the presser foot, I tried it and it wasn't pretty! Once everything is sewn, hand stitch the handles on,
and you're done!
Now for the fun part...teaching your kids the best methods for door bell ditching :)
Thanks for having me! I am SO THRILLED to be posting on one of my FAVORITE blogs!
I love eighteen25!
I love eighteen25!
I can't wait to see all the CREATIVE halloween ideas this month - what a fun idea!


No comments:
Post a Comment