Howdy!
It's me, Amy, the Momma to Bug and Bean.
Super stoked to be over hanging with the girls of eighteen25 today.
As you can see from above, we enjoy Halloween in our home, A LOT.
So it was fun to come up with a new project to share.
I was lucky in that I had all the supplies needed for this project laying around. But I would say if you had to buy the materials, it would be maybe $5.
You need a box, some felt or paper, green streamers, a zip tie, glue stick, and scissors.
First thing you'll want to do is draw out each side of the face.
The size of your piñata will be your own preference.

Once I had one side cut out I just traced the other side and cut.

Then comes the Frankenstein part, or more like Igor, piecing him back together.
Start taping your side back together.

If you are going to fill it, you will want to leave the flap on the bottom open.

Then comes the fringe. Starting from the bottom, and now I will be singing Drake all day "started from the bottom...", using the glue stick layer three rows at a time.
Glue the top down and then go back and fringe.

Working and wrapping...
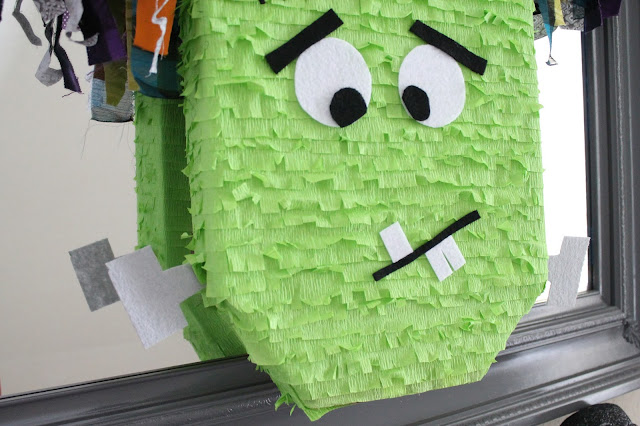
Once you are done, use the felt or paper to cut out the face.
Before you cover the top, poke two holes in the top and thread a zip tie through and close it up.

Then cover with the black felt or paper...

"HE'S ALIVE......" And hanging.
Frankie could just hang around or maybe be filled with fun little things and candy for a party.

Bug and Bean thought smashing Frankie to smithereens would be AWESOME.
Momma not so much, so we pretended, haha.

Now off to work on our family costume for this year!
Some other Halloween DIY's
___________________________
this post is sponsored by:


No comments:
Post a Comment