
Hi, I'm Katie from Sew Woodsy, and I can not tell you how excited I am to be here today! First, a little about us; we are a husband and wife craft team. We work together on all sorts of projects from Home/DIY to wood working, and well, I like to sew! Hence our name "Sew Woodsy". Halloween is our favorite holiday to decorate. We take everything off our walls and transform our home into a Halloween Haven of sorts (plus we host a pretty cool costume party)!

I dreamed up this project last year literally days before our Halloween Costume Party. I instantly started creating my life-size mummy, and finished it with hours to spare before our party.
Supplies:
5+ yards beige muslin
A month's worth of newspaper
Water bottles & plastic bags
Styro-foam head
Packaging Tape & Scissors
Glue Gun and an infinite number of hot glue sticks
scrap piece of wood

Since I wanted the mummy to be life-size I took a pair of Mr. Woodsy's shoes and used that as my template to create the feet. Because he wanted to be able to wear his shoes I then removed the shoes from the taped template and replaced them with water bottles.

After I placed the water bottles in the shoe form I then stuffed plastic bags and newspaper. The water bottles are what helped hold up the mummy and created a base.

Next, I began creating the legs. I simple rolled a few sheets of newspapers to start with, then worked around the "legs" stuffing them with newspaper and making them look a bit wider.

I used a long scrap piece of wood as the main support for the mummy (as pictured above).

I wrapped the remainder portion of feet to the legs around the scrap wood and secured it with tape.

Once you've created your legs you will want to work on the torso. With more newspaper than I can remember you will want to make the torso. Followed by "arms" that are in a folded position (similar concept I used for the legs). Lastly you will want to attach the head to the scrap piece of wood.

Next, you will begin adding the muslin. This process probably took me easily 2 hours. Get ready for a bit of a mess and an infinite number of hot glue sticks used! I started at the bottom of the mummy. I took a large strip of muslin and covered the feet; then added additional strips to the feet.

I cut one-to-two inch strips from the muslin; tearing the rest. I applied a generous amount of hot glue on each strip and then placed it loosely on the mummy. Be careful the glue is hot, and will most likely seep through the cloth.

Repeat... the step above until you no longer see newspaper and are satisfied with the look of the mummy.

After a few hours... this is what you should have! Beware of the hot glue... I suffered a sever hot glue burn from this project... probably around the time I took this photo. It left a scar on my ring finger (I'll spare showing you the photo--it's gruesome)!

I tried making the arms looser and you'll notice I used a thick strip to cover the arms. Keep on covering your mummy with muslin until it looks like a mummy and not one ounce of newspaper can be seen.
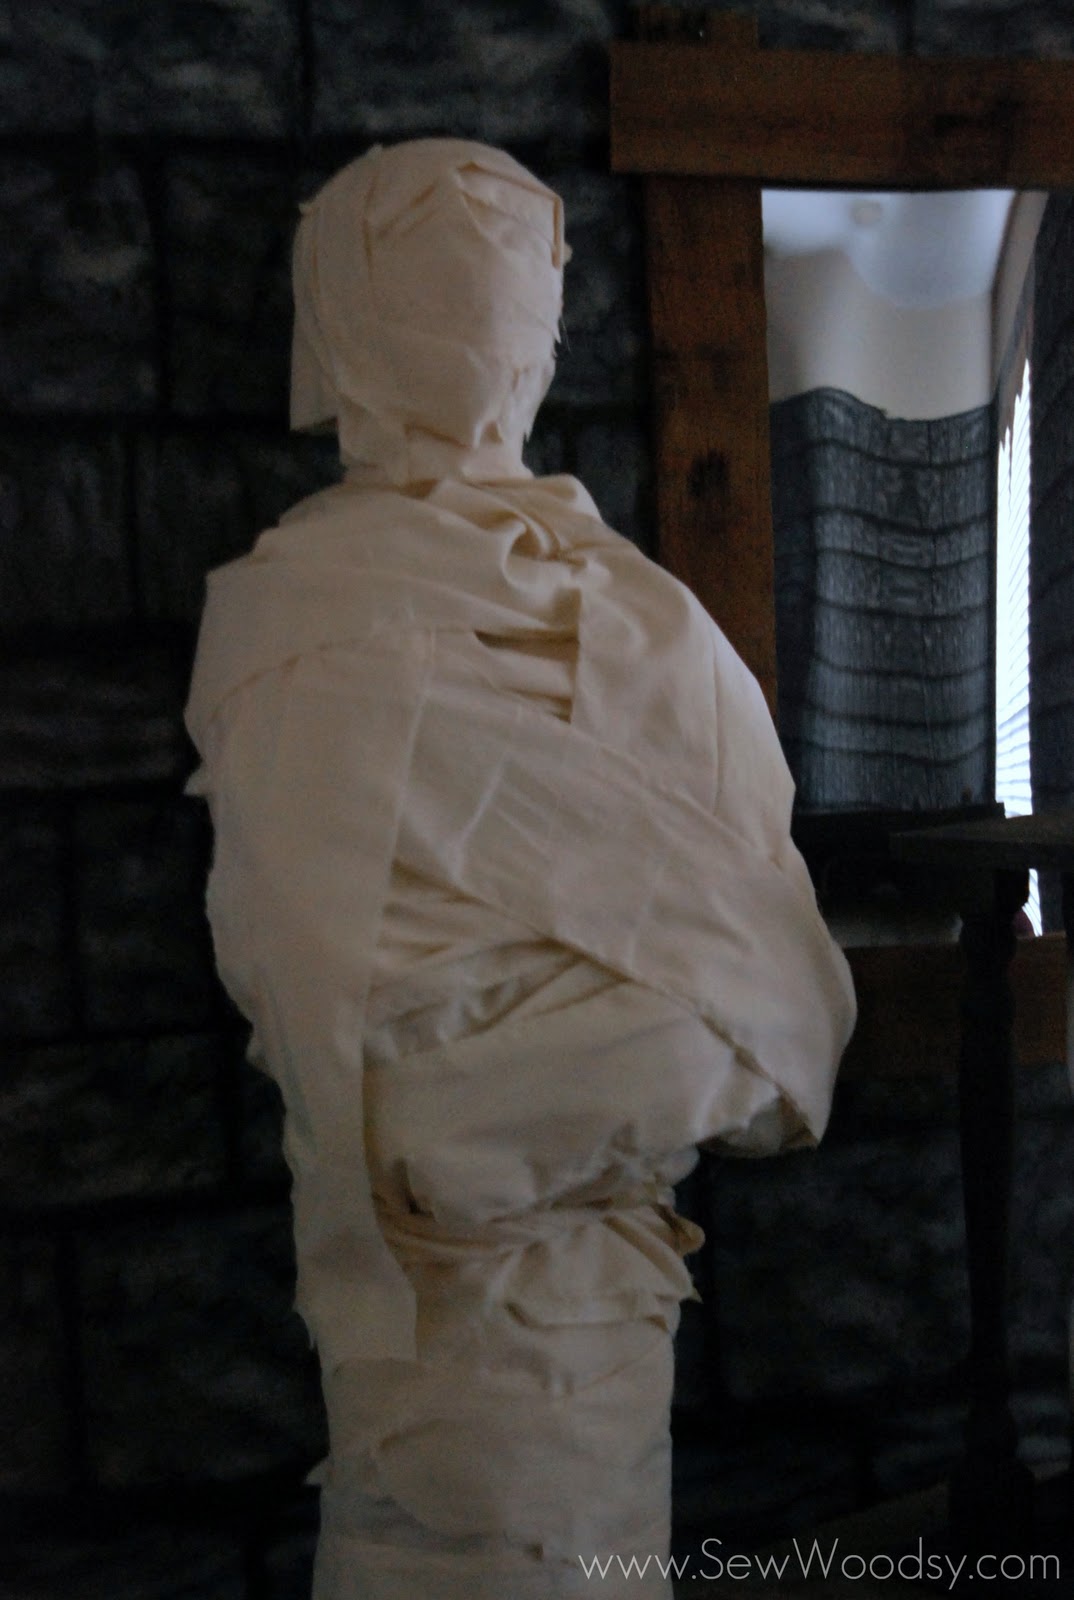
After hours of heartache and hot glue gun burns... your mummy should look (something) like this.

With a stone scene setter in the background to set the mood we propped the mummy next to our rustic wood coffin we made last year.
I hope you enjoyed our project and will visit Sew Woodsy for other creative Halloween projects. Don't forget to keep in touch on Facebook and Twitter, too!
. . . . . . . .
you know i thought i loved halloween... but after meeting katie and her husband... i've got nothing on them. :) they go ALL OUT! i love it. and i love their mummy. i really want to make one... i have a more spooky chic look than spooky scary look going on, but i think a handmade mummy would fit in perfectly!! thanks so much katie for sharing your mummy making talents with us today!!
. . . . . .
this post is sponsored by:


No comments:
Post a Comment