So excited to have Jessica from Two Shades of Pink back with us today.

____________________________________________
Hey sweet friends! I'm back again for another crafty post and it's perfect for back to school time! I find it hard to believe that we are already at this time of year. My kids start after labor day each year so we are still trying to soak up the last few weeks of summer.
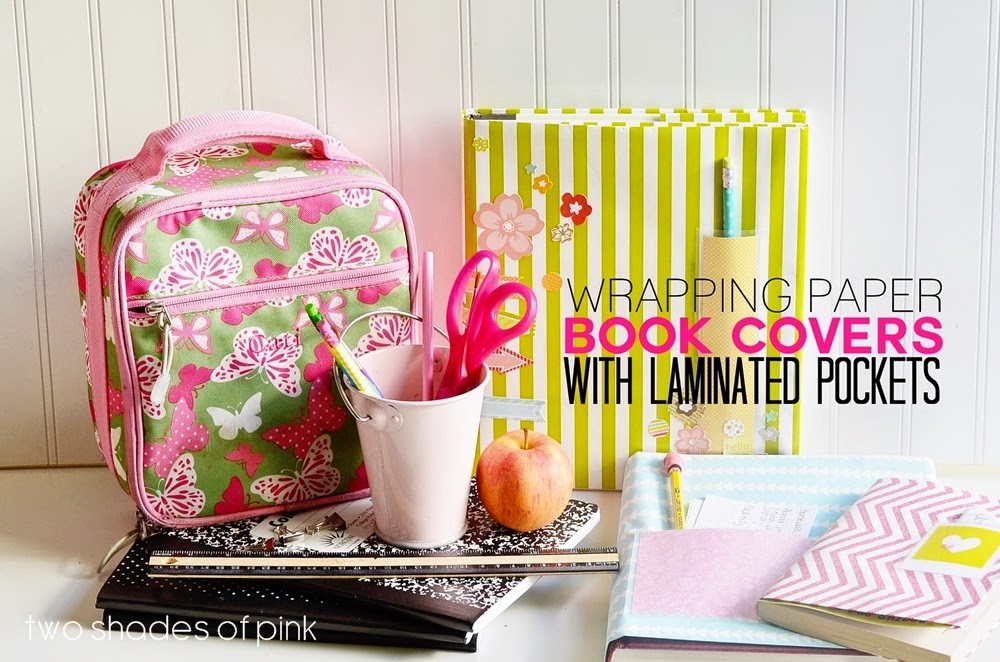
If any of you who know me well...you know I am a bit obsessed with packaging and wrapping paper. As in I collect it. Like a lot of it. It's just too tempting not to. So what better way to use it then on your books to make pretty book covers? Best part...you don't have to rip it off the same day you wrap it. So you can enjoy it for awhile. Like a pretty wrapped gift. Y'all. Total win.
So I took some of my most happy, favorite ones and started wrapping...er....covering. :) I apologize ahead of time for less than stellar photos. Raining for days here in the sunshine state.
How's that for irony?

1. Unroll and cut enough that will leave about a 2 inch allowance on the top and bottom. There should be plenty to spare on both sides to fold over the front and back covers of your book.
2. Open your book and mark the top and bottom with a line to show where you'll fold your paper.
3. Fold the top length down and the bottom length up so it looks like this. (Don't worry if its uneven looking. It works out.)
4. Now fold over your front cover and then the back cover tucking your front and back covers into the little pocket folds that will be created to keep it from shifting.

Happy patterns and colors!

Now if you have access to a laminating machine...then I know you know the pure joy of laminating any thing and everything laminatable (totally a word). Even saying the word is fun...l-l-l-aminate. :) I cut various size pockets and then I gleefully laminated them.

Use double sided tape (or even some hot glue) on the edges leaving the top open to create a pocket. Position on your paper book cover and you have some handy little pockets on your books. They are perfect for tucking pencils, lunch money, note cards, papers or even your phone into.

I also like that kids can make their book covers like a scrapbook. Add stickers and fun little designs to make it personal. I even laminated a cute clipboard from scrapbook paper and using a dry erase marker can make a quick note that can easily be erased later.

Hope you enjoyed this easy back to school DIY that has so many possibilities!
Have a fabulous week sweet friends!
_____________________________________
and check out these other great posts of hers...


No comments:
Post a Comment