Hi everyone, Kiki from Kiki and Company back this month to share a little project I did to get me ready for fall!
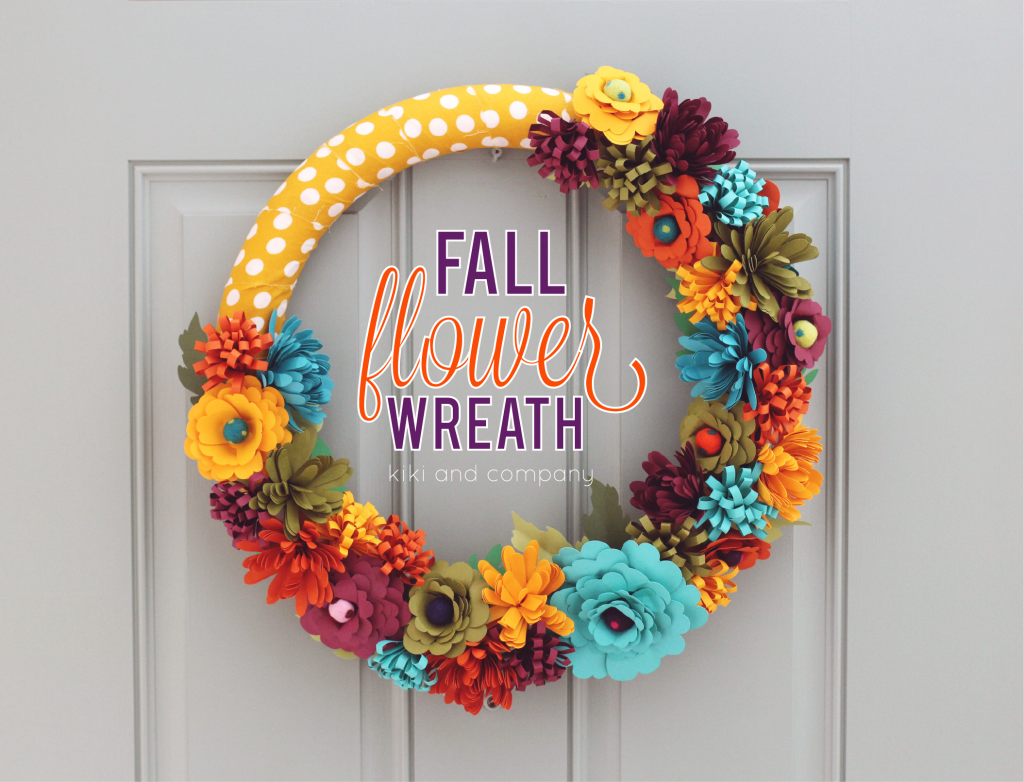
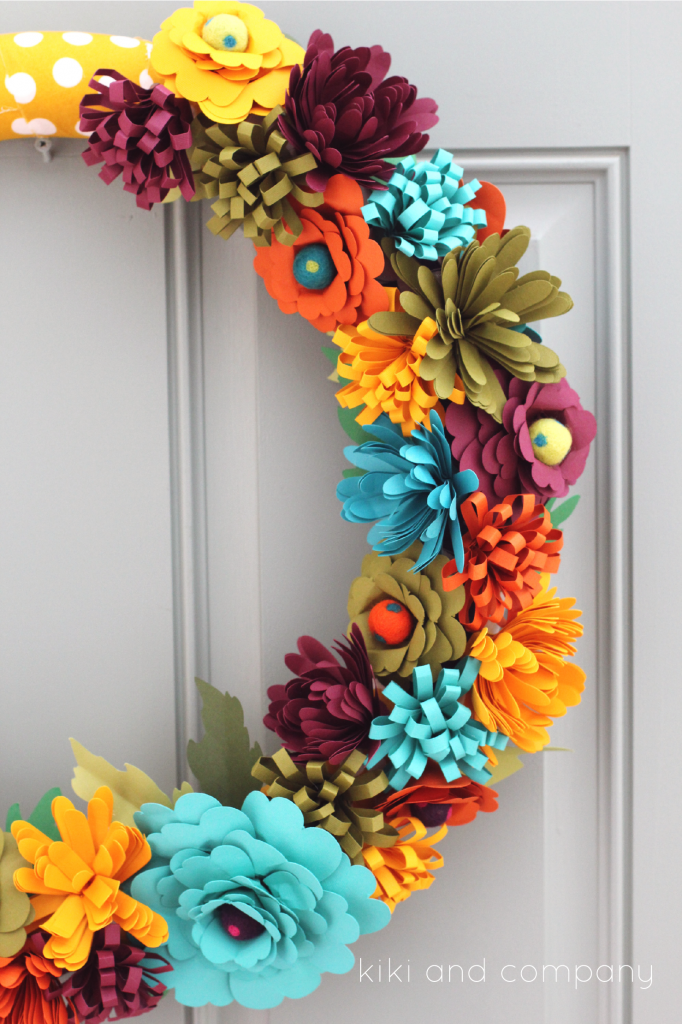
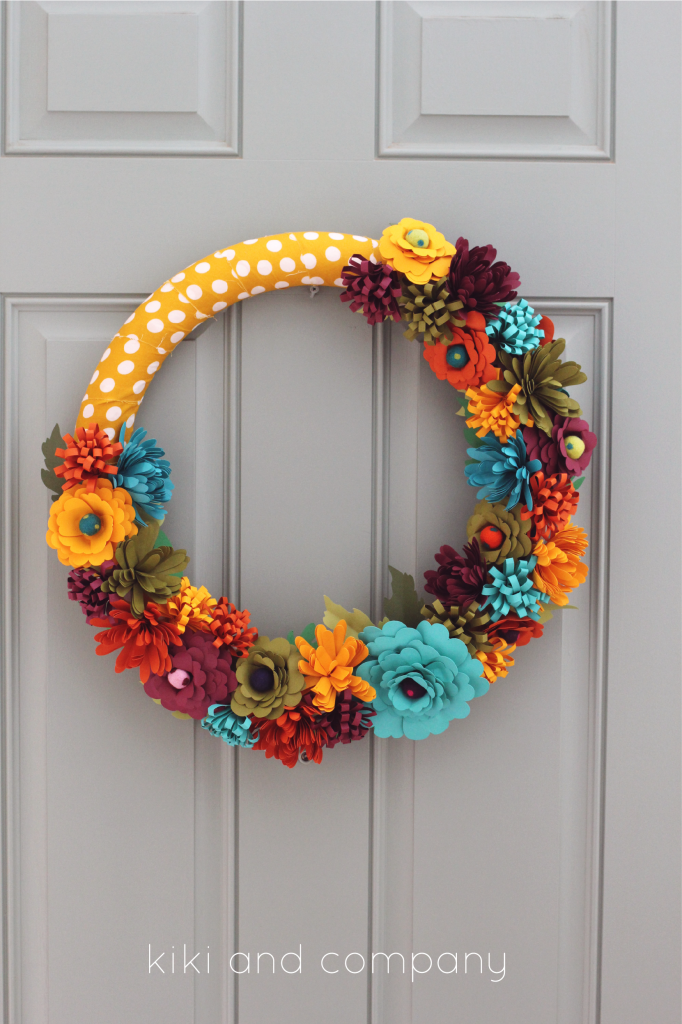
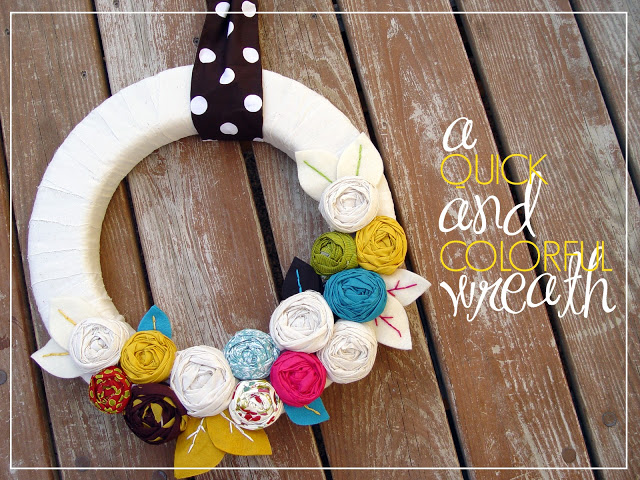
My family just moved into a new home and I don't know about you, but I feel like it takes FOREVER to get a new house feeling like a home. I thought this wreath might at least get that feeling started:
Isn't it so fun! I just got a Cricut Explore and have enjoyed SO much designing lots of fun things and having it do all the cutting work...it saves me SO much time!
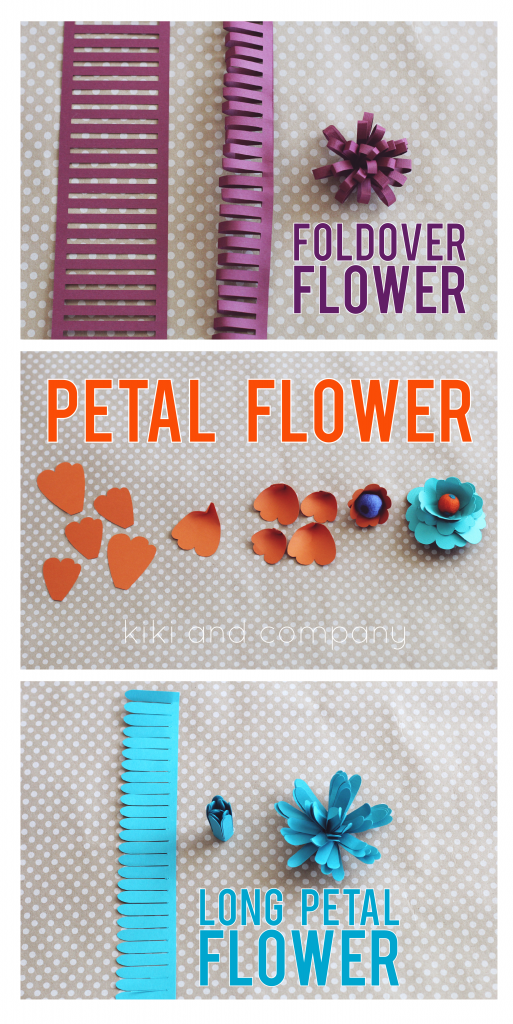
So I wanted to show you how to put these flowers together:
Foldover Flower: After cutting out the pattern, simply fold over the design and glue the sides together. Start rolling the flower, tacking the beginning down with glue. Roll until you are at the end and put a dab of glue to seal it. Then simply fluff out the petals with your finger.
Petal Flower: For each small flower you will need 6 small petals and 4 large petals. You can make these as big as you'd like by adding more petals. Once cut, fold the base of the flower in from one corner and then fold in from the other corner to make a point in the back. (see pic) Before gluing, put your finger in the point and smush the point in the back. Now use a felt ball (or anything you have on hand) to glue into one of the small petals. Add 2 more small petals around the ball. Add another row of small petals behind the first. Lastly, glue the large petals around the back. I then went in and folded and shaped the tops of the leaves until I liked how they looked!
Long Petal Flower: Take cut out design and roll, tacking down the beginning with a bit of glue. Roll until you are done and use a dab of glue to seal. I did 3 layers for the large flowers and 2 for the small. then simple start at the base and pull each individual petal down shaping the petal up a little at the end.
To Put Together the Wreath: Take a foam wreath and wrap it with fabric. I knew I wanted mine to show a bit so I picked one that coordinated. If you don't want yours showing, use any fabric you want. After wrapping the wreath, begin hot gluing those flowers on. Once you have it where you like it, cut out and add the leaves in. This really brings out those flowers and can hide any spots you make need to! Now you have made a wreath ready for any season (just change the colors you use!)
There are so many things I love about summer, but after making this wreath, I am READY for all the wonderful smells, the cooler weather and awesome colors of fall to come! Good luck making one of your own!
To download the free patterns for these flowers, click on the links below:
PDF patterns to print on any plain or patterned paper:
.....
I'd love to have you come and visit me over at Kiki and Company where I have shared these fun posts:
____________________________________
and check out these other great posts of hers...


No comments:
Post a Comment