
Hi there lovely ladies!
My name is Kristyn (from Lil' Luna), and I cannot even express in words how excited I am to be here today. I adore Jamie, Jodie and Jennifer and wish I could live right next to them in Vegas. Not only are they so nice and talented, but they are hilarious and I just love them! I'm thrilled they asked me to be here today to show you a Spooktacular Project because I LOVE, LOVE, LOVE Halloween!
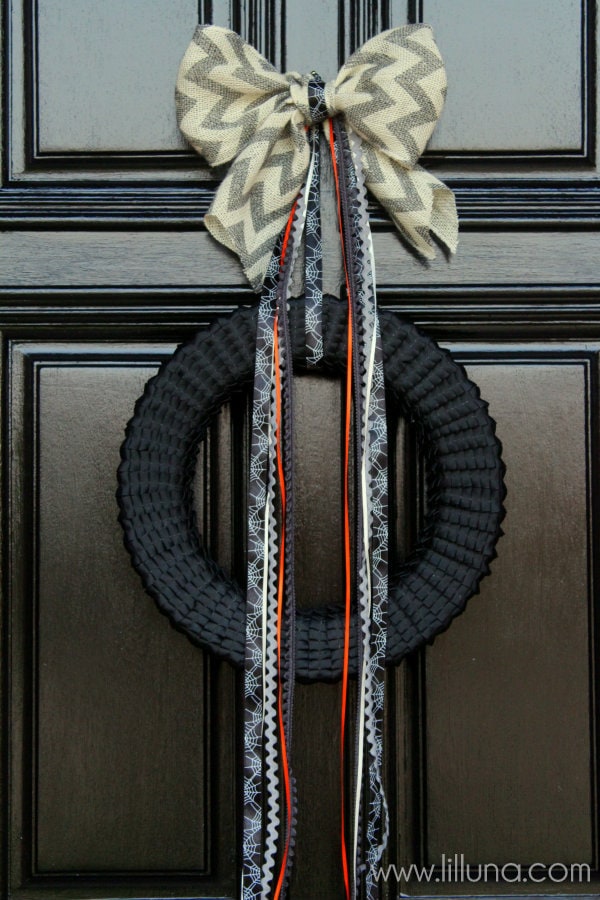
This year, I wanted to make something spooky and equally beautiful. I decided to make a Happy Halloween Wreath for the door of my new home here in Texas. We recently had it painted black (although it looks brown-ish in the pictures with the glare) which is perfect for this holiday wreath. I decided to make two versions... both beautiful, but one with a little more of a spooky factor. :)
VERSION 1:


VERSION 2:


I like showing that simple crafts like this can be added to or taken from to make it exactly how you want it. I LOVE the top version but also love that the bottom version is spooky and a little gothic. ;)
Here is what you'll need to make this Happy Halloween Wreath too:
SUPPLIES:
- Foam Wreath (I used a 14")- Trim/Ribbon (found my black trim at Hobby Lobby)
- Ribbon (also found at Hobby Lobby - be sure to buy when it's 50% off which is about every 2-3 weeks)
- Glue Gun
- Frame with Printable (available below)
DIRECTIONS:


1. Begin by wrapping your trim all around your wreath. As mentioned above, I found this trim at Hobby Lobby and bought ten yards which was the exact amount I ended up needing. You may need more or less depending on the size of wreath you use or how wide or thin your trim is.
2. When done wrapping be sure to hot glue the end of the trim to the back of your wreath.

3. From there I wrapped some ribbon around the wreath to help determine the length between the bow and the top of the wreath. Mine is about 10 inches.

4. Then I made a big bow with this great burlap chevron ribbon I found at Hobby Lobby. I then tied the ribbon that attaches to the wreath around this big bow.


5. Then I fed more ribbons, trim and ric rac through the back where I tied the spider web ribbon around the bow so that they hung from behind.
From there I just hung a nail on the door and hung my wreath from the spider web ribbon.
I LOVE how it turned out!
Simple, festive and beautiful!
Now, if you want to make things a little more spooky, you can use the printables I made below using a skeleton from The Graphics Fairy:
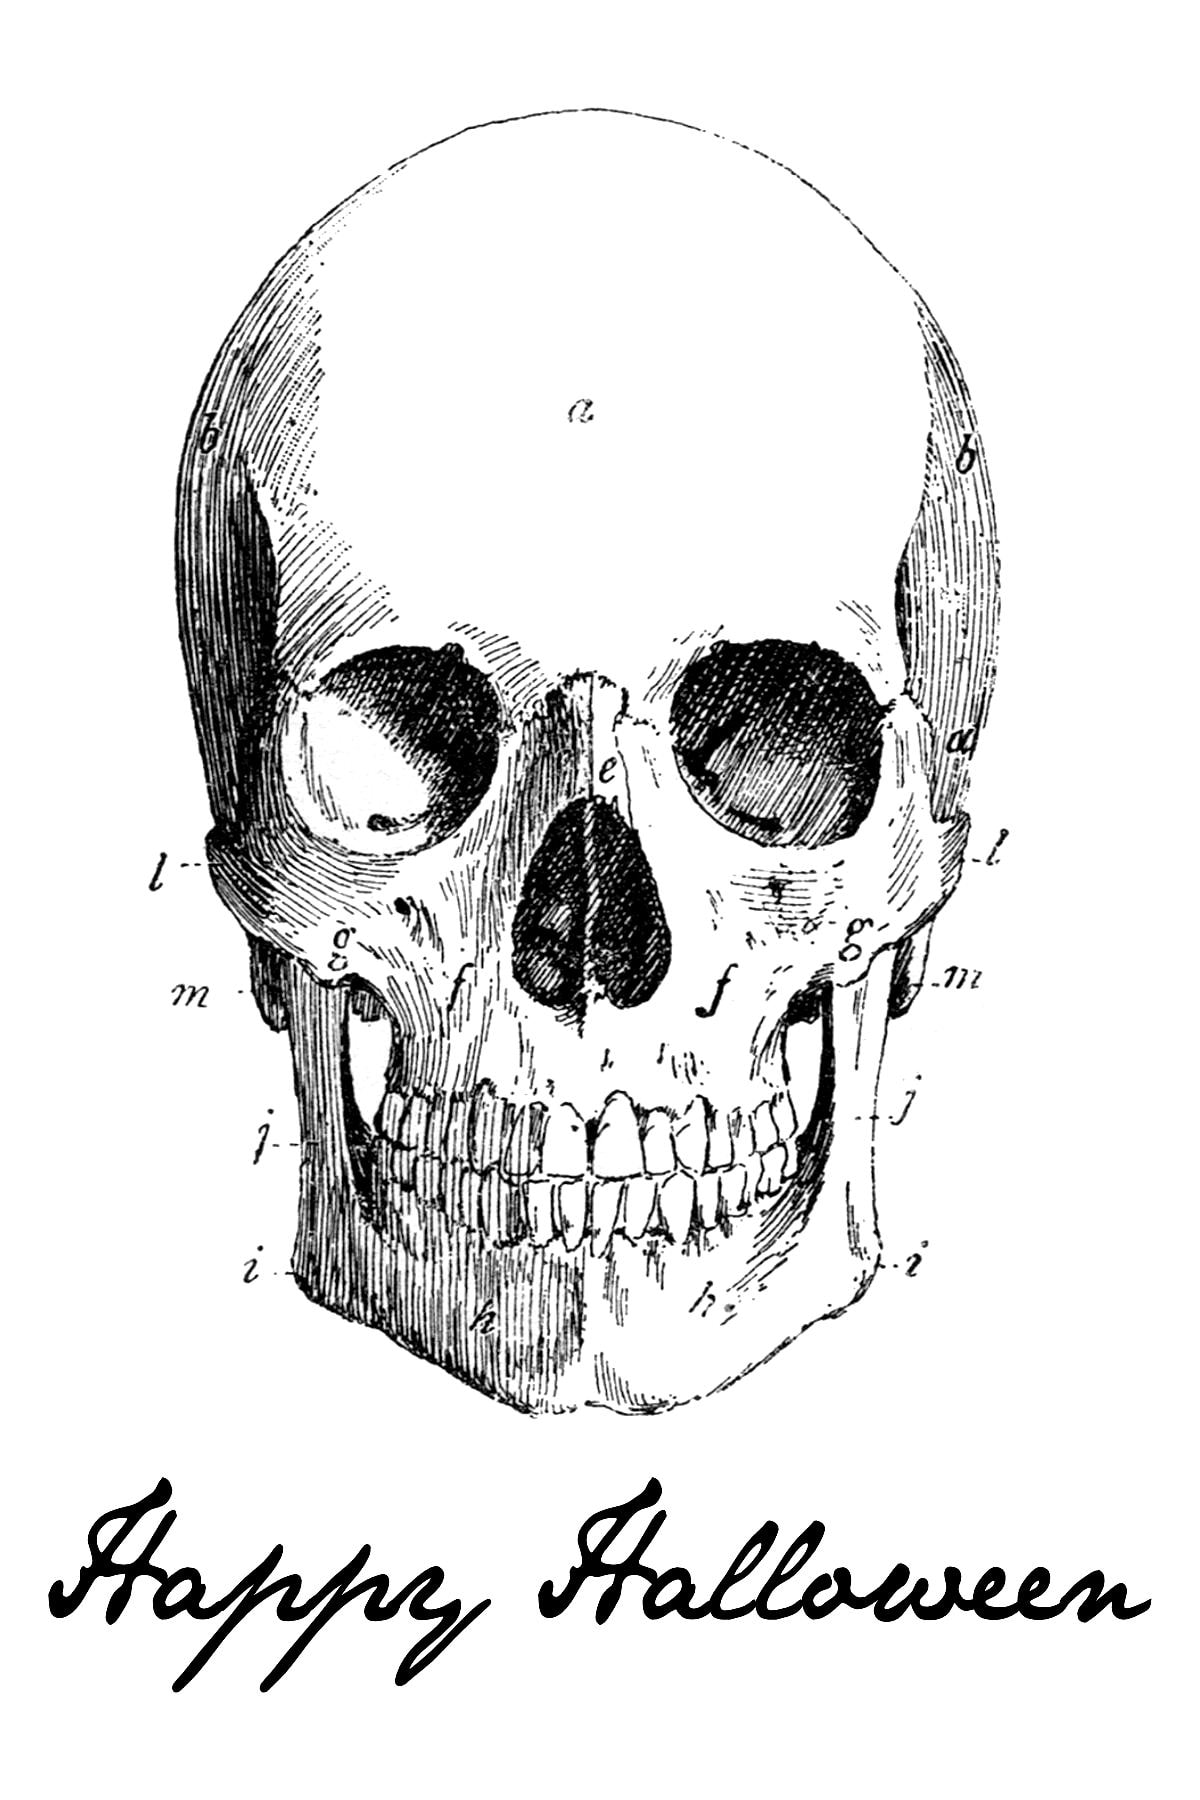
{BLACK & WHITE VERSION}

{ANTIQUE/SEPIA VERSION -
which is what I used since my chevron burlap ribbon was an antique-y white}
which is what I used since my chevron burlap ribbon was an antique-y white}
To use, just click on the image you want above and then RIGHT-CLICK and SAVE. Then open it in a program like WORD, size it to what you need it to be, then print and cut out.

Place it in a frame and add ribbon to the back to hang from. I used a staple gun to attach my ribbon, tied it in a knot so it could also hang from the nail, and then left lots of excess so it could lay down with the other ribbons and trim.

The result:

A super pretty and spooky Halloween Wreath for your front door!! I'm thinking this is the version I'll leave up because I LOVE this old skeleton print!
I'm just slightly obsessed with wreaths and LOVE making holiday wreaths for some great and easy home decor. Best of all, these end up being so much cheaper than having to buy one which can be pretty expensive. ;)
I hope you LOVE this wreath too. It seriously is pretty easy to make and is perfect for Halloween, which is right around the corner.
To check out my Halloween Gallery Wall I did last year for Spooktacular September go HERE.

For some more Halloween inspiration be sure to check out these:

And for all Lil' Luna projects, come on over and say hi. I'd love to have you!
Thanks Jodie, Jamie and Jennifer for letting me be here today...
AND Happy Spooky September!
XO - Kristyn

___________________________
this post is sponsored by:


No comments:
Post a Comment