Hello eighteen25 friends... This is Desirée from The 36th Avenue.
I am so excited to be here today visiting some of my favorite people in the world.
I love the girls behind this fabulous blog!
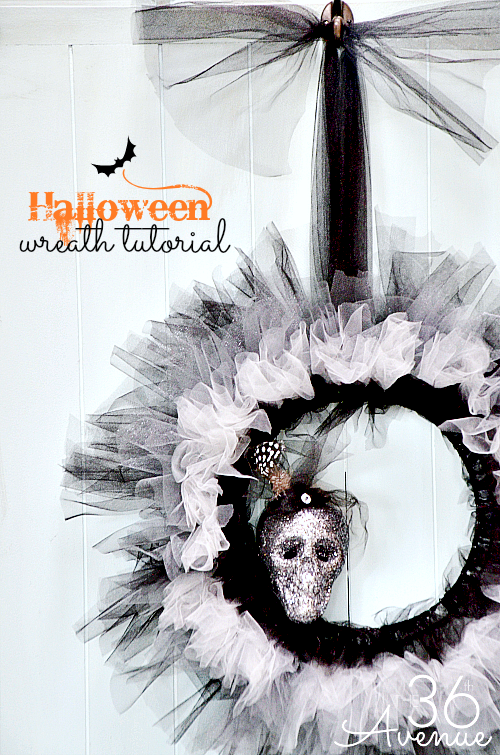
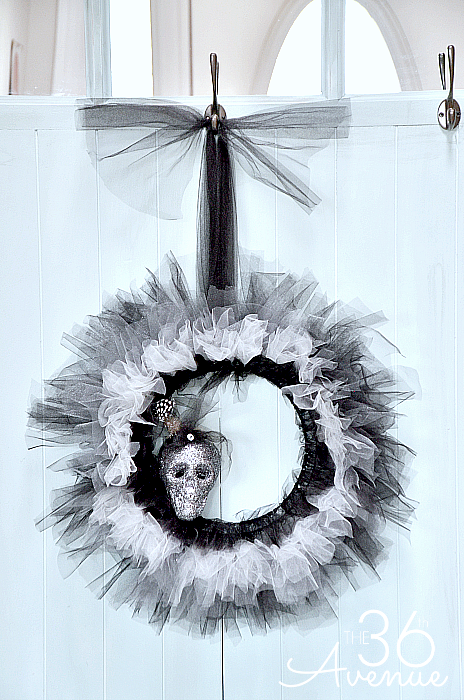
Today I am sharing with you all my Smoky Halloween Wreath Tutorial.
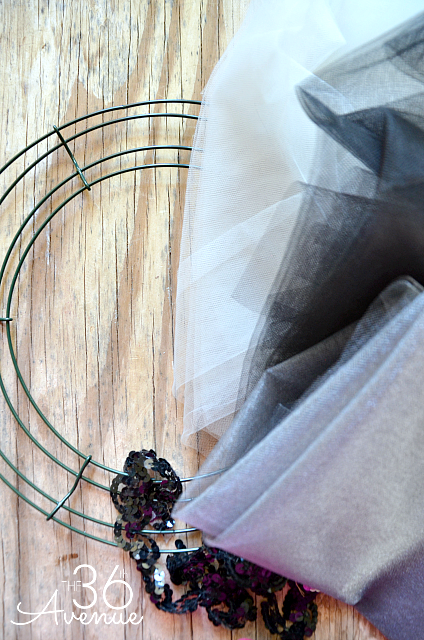
Let me show you what you'll need:
A wire wreath, 1 yard of white, grey, and black tulle, and
any embellishments you would like to use to decorate.
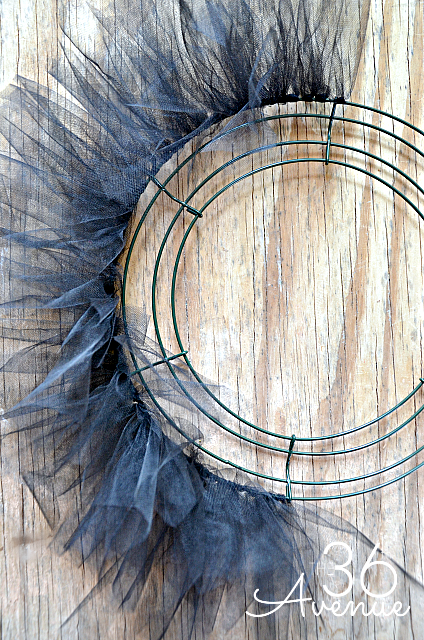
The first thing you want to do is cut your tulle about two inches wide and about six inches long.
You can always trim the layers later if you think they are too long.

When you have all of your pieces cut, start tying them to the wire.
I noticed it was easier to work from the outside to the inside of the wreath...
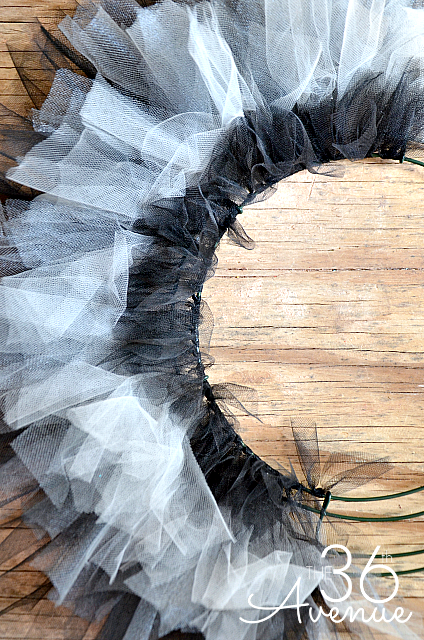
I hope you are watching a good show while doing this part since it takes a while to finish all the layers.
Start with black, then the gray, then white and finish with black again.
When you are done add your embellishments. I chose a glittered skull from the Dollar Store.
I gave it a bit of a makeover. You know, girls like to look good... I think she looks fantastic!
And just like that you are done... Time to hang up your new Halloween Wreath!
We are almost in October, I hope by now you are seriously thinking about decorating.
For more decor ideas make sure to check out our DIY Halloween Projects

And for some Halloween fun we have our Monster Pencils and Free Printables here

Thank you so much Jamie, Jodie and Jen for having me over today.
You guys are the best!

Besos
Desirée

__________________________
this post is sponsored by:


No comments:
Post a Comment