

Every year, as the holiday season fast approaches, I find myself sewing new pillows for the couches or creating new wreaths for the doors, but I have to admit the kid's rooms kind of get put on the back burner. I typically get the main living areas set-up and then let the kids take what is left in the storage bins and arrange those things in their rooms, to their liking. So, that is why I decided to do a project that would produce decor just for them! The first thing I recommend doing is sketching out ideas:

After that it is time to decide what size pillows you wish to make. I made 16 inch pillows so I cut one piece 16 x16 and then two separate pieces 11x16 inches. Do this for all your different colors of fabric. This is what the cut pieces will look like:

A few notes: I cut my fabric to my exact pillow size and allowed for a 1/4 inch seam allowance, I did this because I prefer a tighter fit. I don't like when the fabric sags and by cutting it the exact dimensions of the pillow it ensures that the pillow form will fit nice and snug and take up every inch of the cover. I also chose to make these as slipcovers without a zipper to make it more beginner-friendly. If you know how to add a zipper then by all means cut two 16 inch squares and skip the next step :) For those doing the fold-over method, let's continue. Take all your 11x16 inch pieces and iron them. You will need to fold over one of the long sides 1/2 an inch, iron, and then fold over another half inch, iron again and pin. You have closed in one raw end on each of the 11x16 pieces. It should look like this:

Sew along all these edges, clip thread and set them aside. Next up is the fun part, drawing and cutting the faces. You can do this one of two ways. You can either start by drawing out your face on scrap paper first, cutting it and then lining it up on the fabric to see what it looks like first before making cuts in your fabric:

Or, you can just play it by ear and cut straight from the fabric. I chose to use flannel material for two reasons. 1. My children go gaga over anything that is soft, they start oohing and ahhing....purring and salivating and 2. It was on sale. The flannel was 2.99 a yard and I only needed a 1/2 yard of each color so it cost a whopping $6 for all the fabric. I had a scrap of yellow flannel at home for kitty's mouth and eyes but other than that the scraps from the pillows serve as the pieces for the faces. The pillow forms are where you will drop a little change. Make sure to take a coupon, or wait for a sale on pillow forms. Another note is that if you already have throw pillows make it a point to create pillow covers that will fit that sized pillow. Okay, so once all your faces are cut line them up like this and admire your amazing cutting skills:

Next, you need to sew the faces on. I used white thread from start to finish because it creates a more spooky, haphazard look...and mostly because I am too lazy to switch out the thread each time (can I get a wit-ness!) So, my only advice here is to sew in order. For example: Looking at the pumpkin face, you would sew the whites of his eyes to the black triangles first and then sew the entire eye to the face...make sense? Also, be sure to iron all the pieces first before pinning and sewing. I chose not to use heat and bond for the faces because it would have been just another step and aintnobodygottimefahdat, pinning worked just fine and besides, it's okay if the pillow faces look wonky, it adds charm!! Here they are all sewn:

The light is now visible at the end of this tunnel! Okay so now take one flannel face and place it in front of you, on the ground, face staring at you. Take one of your 11x16 inch pieces and place it right side down, lining up bottom and side edges, pin in place.

Do the same thing with the other piece, the middles will overlap.

Now you will sew with a 1/4 inch seam allowance around the perimeter of the entire pillow. Clip corners and either serge or zigzag stitch around the whole thing to keep fraying at bay. I chose to zigzag because....you guessed it...I was too lazy to switch chairs and plug in my serger. Laziness seems to be a recurring theme in this post. This is what you should have:

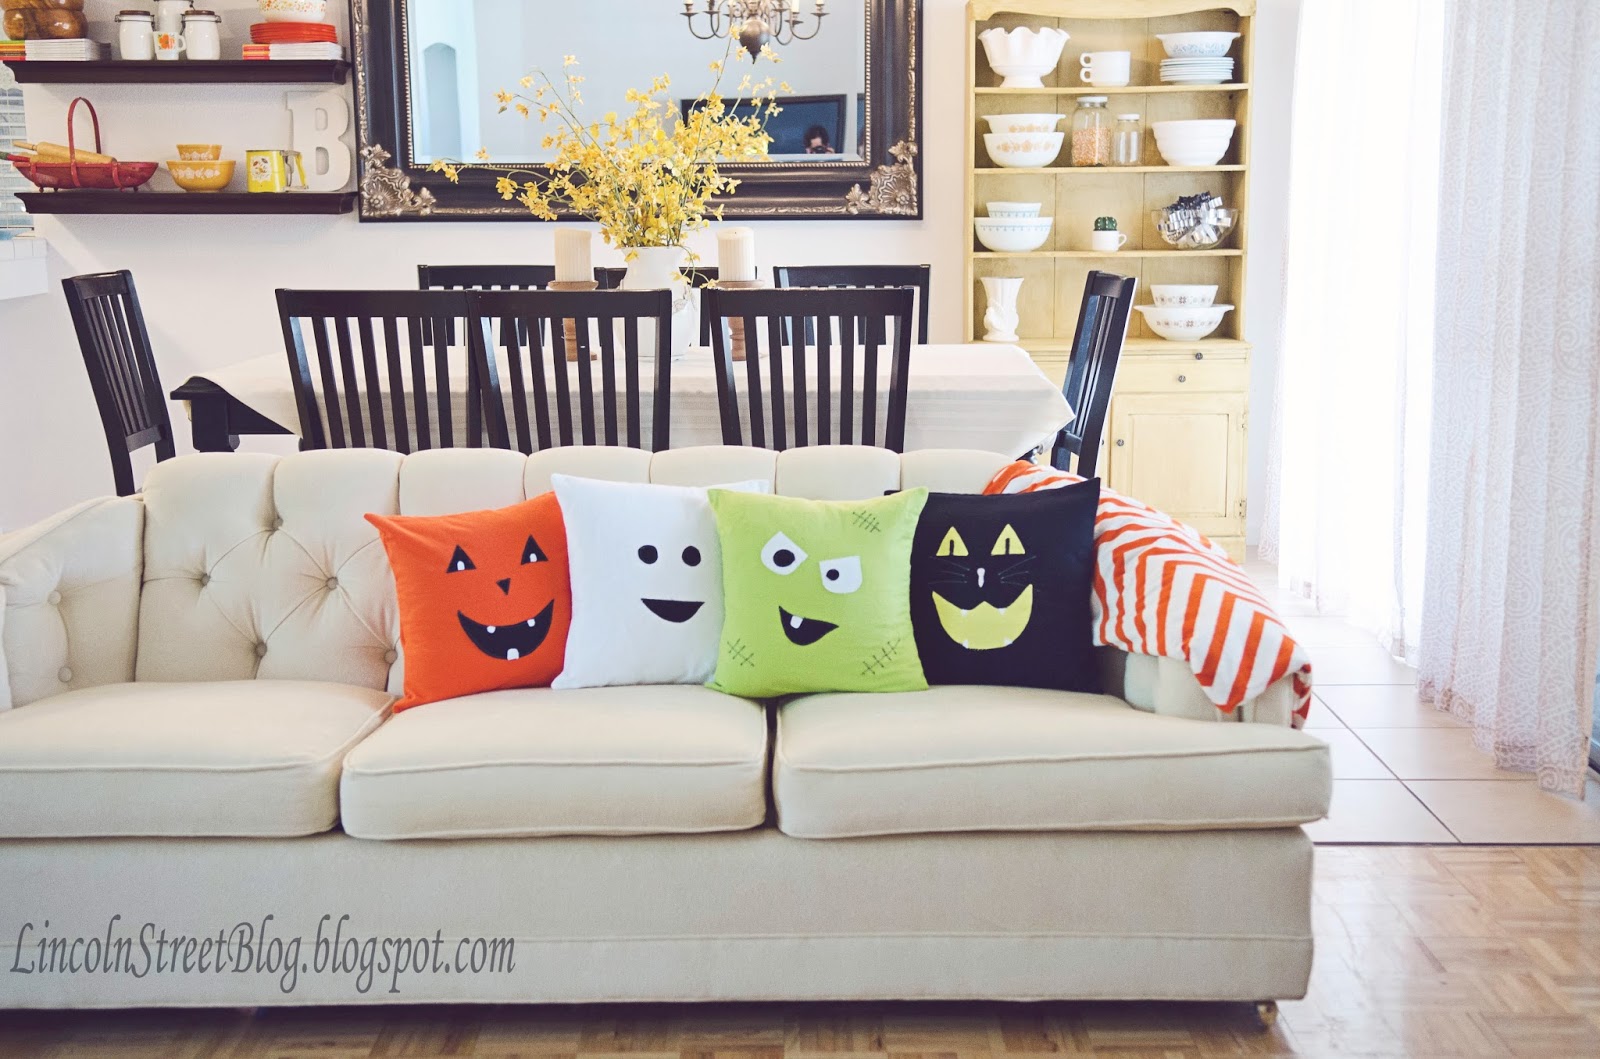
Now--->the FUN part! Turn them right side out and admire your handiwork! Even though I made these for the kid's rooms I quite like the way they look on the living room couch too.


The final step is submitting them to your children for approval:


I think we have a winner!

It was so fun sharing with you today! Hop on over to my blog to find these Halloween projects from last year (links follow):


You can also find me on Pinterest, Instagram, and my Blog of course!
Thanks again to Jen, Jamie, and Jodie for inviting me here today... It's been real! xo -Chris
Thanks again to Jen, Jamie, and Jodie for inviting me here today... It's been real! xo -Chris

________________________________
this post is sponsored by:


No comments:
Post a Comment