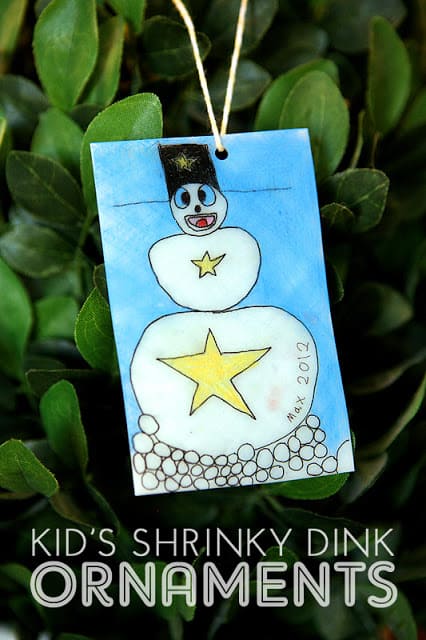
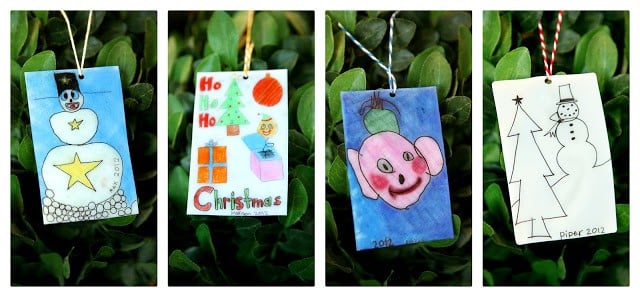
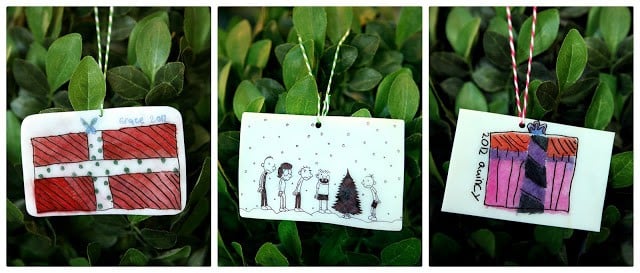
Some of our all-time favorite projects are ones we have made with our kids and this one was no exception…
(and if you’ve never played with shrink film – this is a must!!)
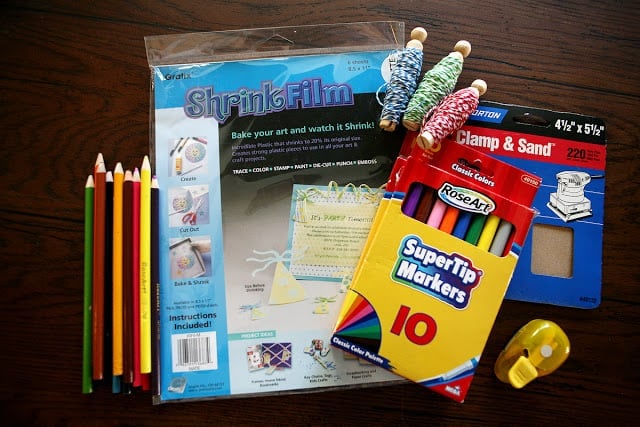
SUPPLIES USED:
• plain paper
• Shrink film (found at Jo-Ann’s)
• very fine sand paper
• markers or colored pencils
• fine tip sharpie
• hole punch
• twine, string or ribbon
• cut your paper and shrink film in half, so they are 5.5 x 8.5 inches.
• lightly sand the shrink film in diagonal strokes.
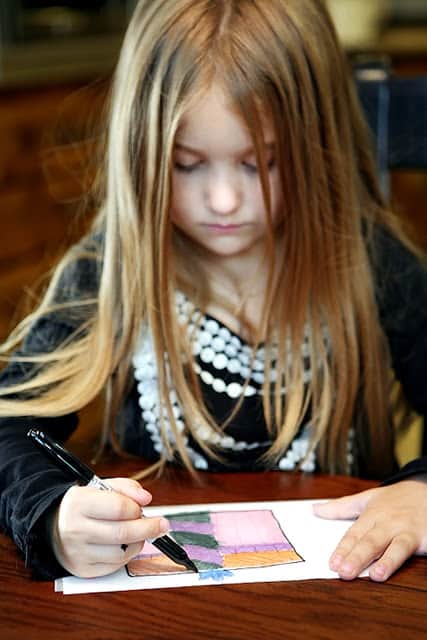
• have the kiddos sketch their pictures on to the plain paper.
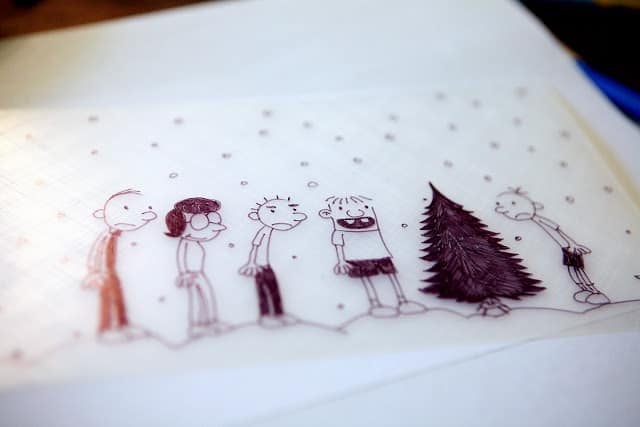
• when they’re happy with their drawing, place the sanded shrink film on top and trace or color the picture on to there. and then go over the lines with the sharpie.
• if you want to trace a picture (from your favorite book or movie case) you can just place the shrink film over it and trace away.
• have the kids write their name and the year on their artwork. (you’ll be glad you did)
• punch a hole at the top of the film.
• now comes the cool part… bake the shrink film. you can follow the directions on the package. we found that baking at 320 degrees worked best.
• cover a baking sheet with parchment paper and place the shrink film on top.
• keep an eye on the sheets. they’ll curl up and then slowly flatten back out. as soon as they flatten back out, remove them from the oven and, if needed, flatten some more with a spatula.
• once they have cooled, string your twine through the hole and they’re ready to hang.
these just make me smile!!
(this post was recently shared on design dazzle)
___________________________________________________
this post is sponsored by:


No comments:
Post a Comment