It's Kristyn from Lil' Luna, and I cannot even tell you how excited I am to be here today. One - because I love the Eighteen25 girls and think they are adorable along with everything they create, and two - I love Halloween and look forward to Spooktacular September every year!!
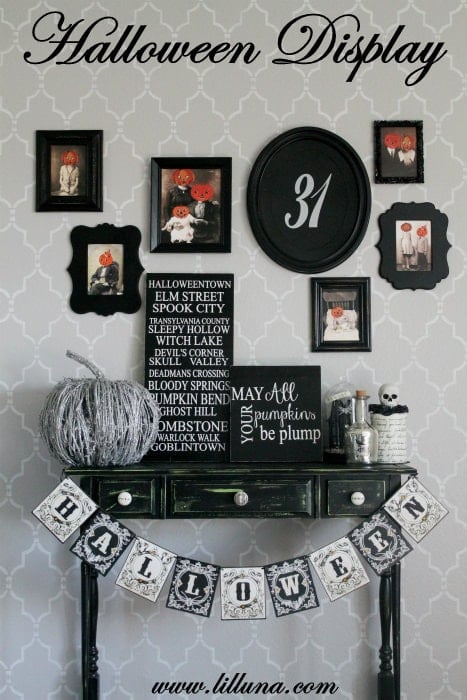
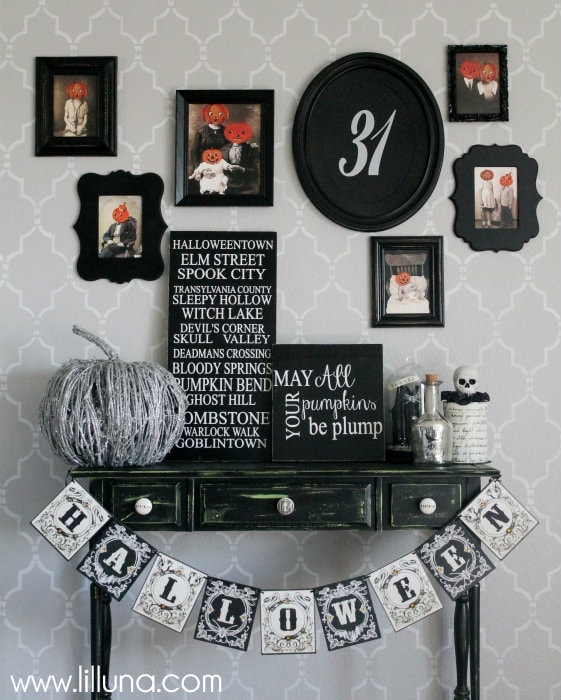
As Halloween approaches I've obviously been thinking of decor and what I wanted to do for my house. I knew I wanted an awesome entryway and decided this year to use mostly White, Black and Silver decor with accents of orange. With that in mind I decided to come up with a Spooktacular Halloween Display with a creepy tablescape and Gallery Wall. I hope you like it... :D
Almost everything in the picture above was made, except for the pumpkin and few pieces on the right (purchased at Marshall's). Even the table was made (thanks to the hubby!!)
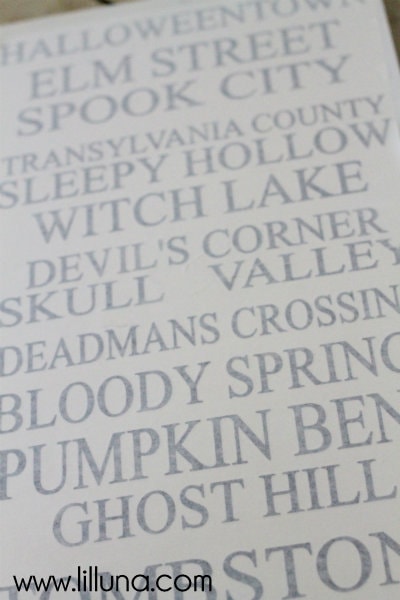
To begin I decided to make a few Subway Art pieces. The first one is inspired by a Subway Art Drawer from Matthew Mead that I fell in love with listing several spooky Halloween locations. I changed mine up a bit and added a few more cities that I either made up or found online that are real locations here in the U.S. Here is how I made it...
SUBWAY ART SIGNS
SUPPLIES:
- Wood (1 ft x 2 ft)
- Vinyl
- White Spray Paint
- Black Spray Paint
- Polyurethane
- Sand Paper
- Silhouette
DIRECTIONS:
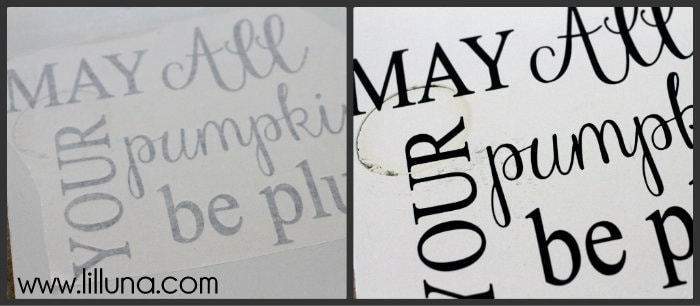
1. Begin by spray painting your piece of wood white. You can use craft paint as well, but I love Rustoleum Spray Enamel. It works so well with the vinyl and looks really nice! Let your paint dry.
2. As the paint dried I designed my vinyl and cut it out using my Silhouette. Peel and add adhesive to your vinyl.
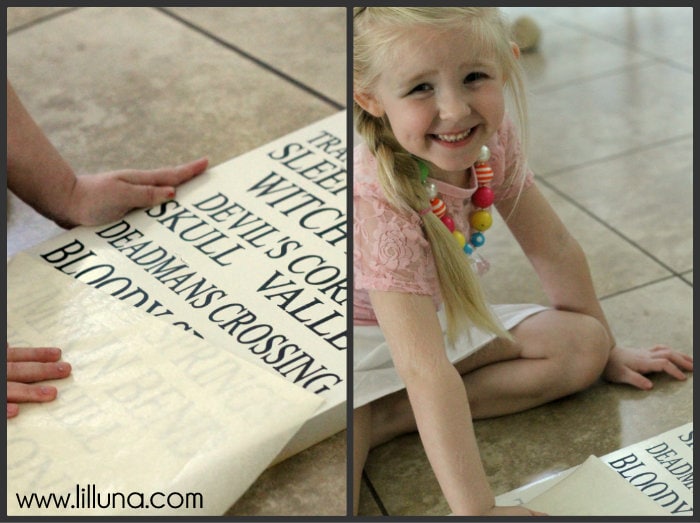
3. From there I added my vinyl (which can be any color since you're only using it as a stencil) to my board, and peeled off the adhesive. My Lily is always happy to help with my crafting and helped me pull it off. :) (NOTE: You do not have to use the vinyl as an adhesive. If you want to use it for the lettering just paint your piece and add your vinyl on top).
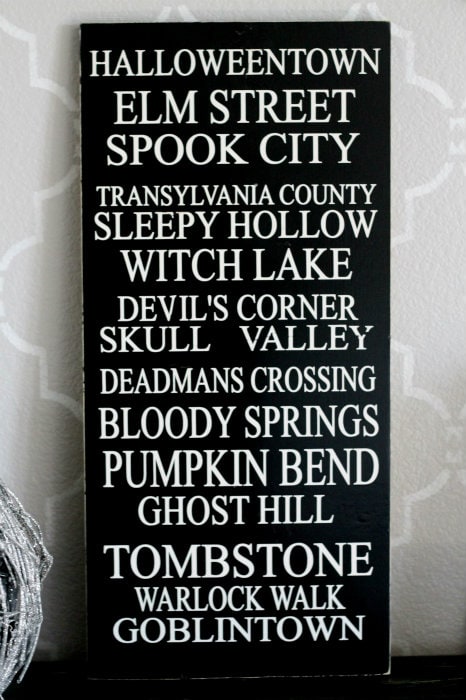
4. From there I spray painted the board the color I wanted it to be (in this case, black) and let it dry. I peeled off the vinyl and sprayed it with Polyurethane. Let dry.
This is the finished product:
I also decided to make another one that was a little smaller. Directions are as the same as above but this piece is only 1 ft x 1 ft.
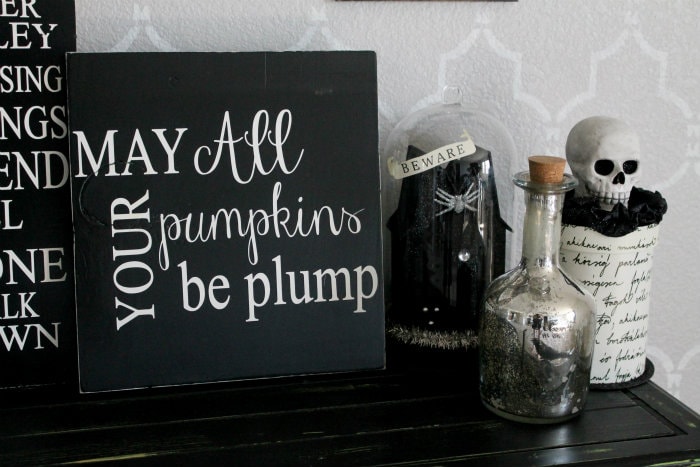
Saw the saying at the store "May All Your Pumpkins be Plump" and loved it!!
What's great about these signs are they are quick and easy and only cost a few dollars to make!
From there I decided to make a 31 sign, another inspiration from Matthew Mead (if you don't know who he is, go check out his website or his awesome magazines!!) He also has lots of vintage Halloween downloads on his site, two of which I used last year for my Spooktacular September post.
Making the 31 sign is super simple. Here is how to do it:
Halloween 31 Sign
SUPPLIES:
- Frame
- Spray Paint
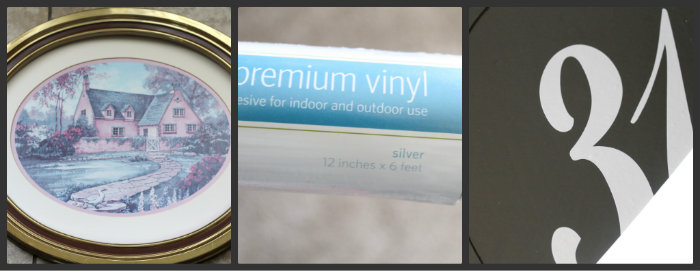
- Vinyl
DIRECTIONS:
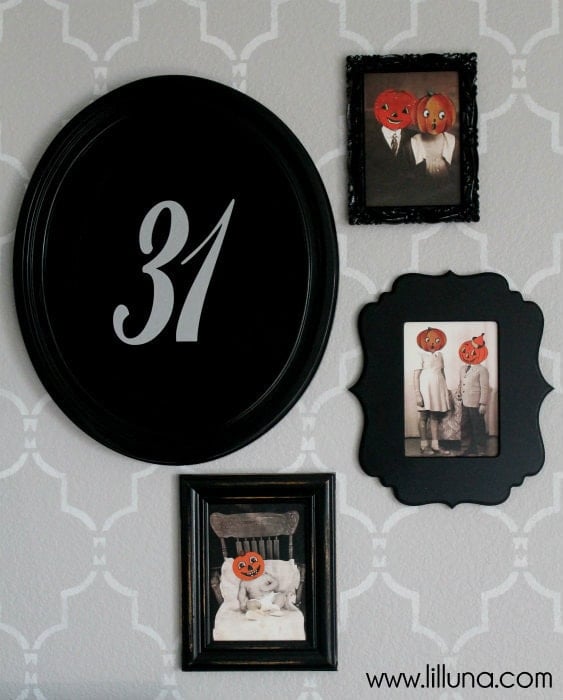
1. Find your frame (I got mine for a few dollars at Goodwill) and spray paint it your desired color. I painted mine black.
2. From there I designed my 31 on my Silhouette. The font used is: Elite Script Heavy.
3. Add 31 to frame.
Hang and enjoy!!
I love how simple and easy the 31 sign was. It was the perfect focal point for my gallery wall and was also made for only a few bucks.
To finish off the gallery wall it was really simple. I bought some more frames at Goodwill, spray painted them and added some spooky pictures.
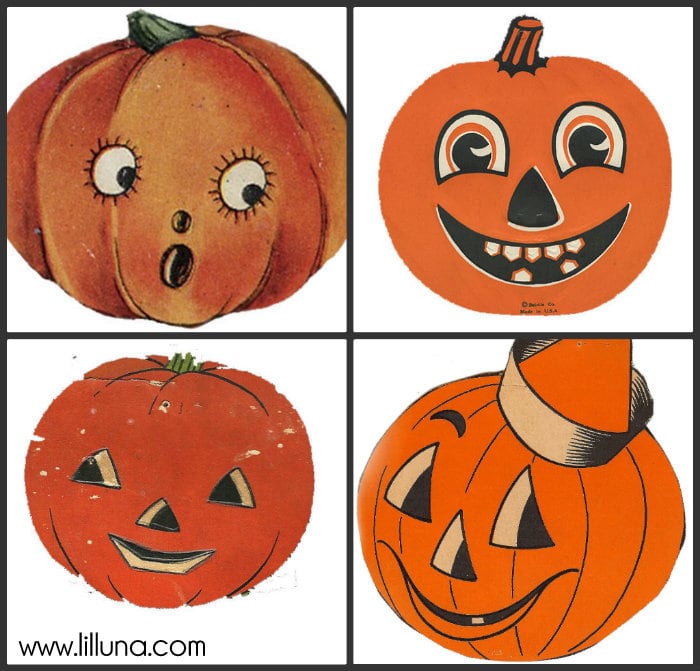
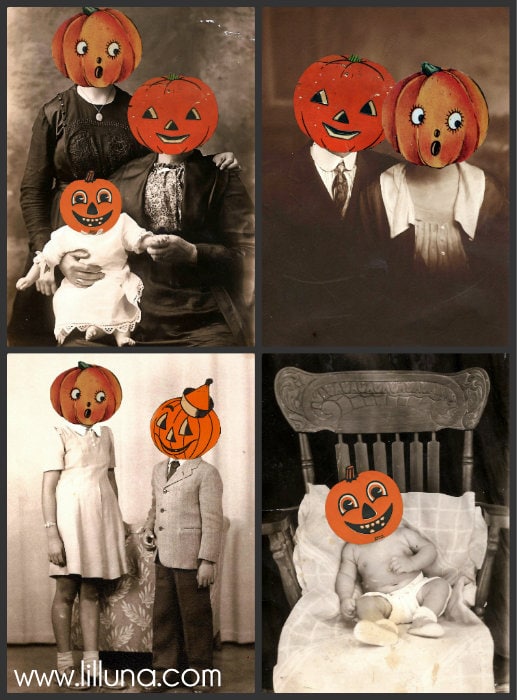
The photos are actually of mine and my husband's ancestors. I found some vintage halloween and cat faces online and photoshopped the heads onto the vintage images to create some fun but spooky pictures.
I created EIGHT different Vintage Halloween Pictures for you that can be downloaded HERE:
For 5x7 images Part 1 go HERE and for Part 2 go HERE.
For 8x10 images Part 1 go HERE, for Part 2 go HERE, for Part 3 go HERE, for Part 4 go HERE, for Part 5 go HERE and for Part 6 go HERE.
I just got them laser color printed at the local copy store, cut them out and placed them in the frame. From there I added the pictures to the wall using command strips so I wasn't putting a gazillion holes in the wall (hubby's new rule, lol!!)
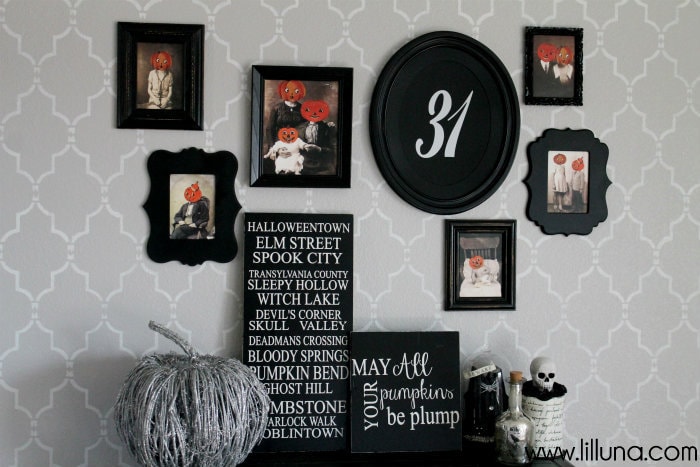
I LOVE how the gallery wall turned out!!
From there I topped things off with the few pieces I bought from Marshalls along with a banner.
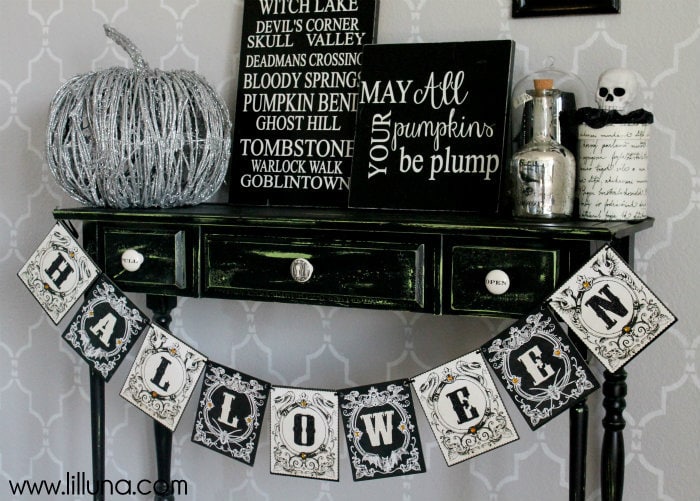
I'm so happy with how it turned out and am so glad this officially got me in Halloween Decorating mode.
For more Halloween fun be sure to come to the blog and check out some other Creepy Creations, like this:

Thanks for having me today Jen, Jamie and Jodie!! And be sure to stop by Lil' Luna to say hi as well as follow me on Pinterest!
ENJOY.... and Happy Halloween!
. . .
this post is sponsored by:




No comments:
Post a Comment