
BOO!
Did I scare ya?!
Sorry I am a little excited to be over with the Eighteen 25 girls today, ha.
I am Amy to most, Wifey to one, and Momma to two.
When I am in the blogging mood you will find me over on Buggie and Jellybean.
I am chief memory maker in my house hold, a job I take very seriously.
That is me in a nutshell, now on to the good stuff.
I adore Halloween, so when I got an email from the sisters asking if I would like to be part of their Spooktacular September I got my giddy hand clap going.
I wanted to do something in the decor department.
So I decided on a pillow.
Here is what you will need:
- Freezer Paper
- Black Fabric {I made a 12x12 pillow so my fabric was cut into 13x13 squares}
- Pencil
- Exacto Knife
- Iron
- Bleach
- Gloves
- Sponge
- Sewing machine or needle and thread
- Spray Bottle {optional}
- Pom poms {optional}

First thing tape down your image and with the freezer paper wax side down, trace.
I chose to leave out some of the details in the image, completely up to you.

Once you are done, fill in the pieces you are going to keep to make up the image, like these little pieces for the nose. That way you know which pieces you are keeping.

Then start cutting.
The turtle wins the race on this one.

Here he is all laid out.

With your iron on the warmest setting and without moisture, iron wax side down.

Then in a well ventilated and protected area lay out the fabric. With a small bowl of bleach and a spray bottle of bleach get to work. I would wear gloves and take a sponge and lightly dip it in the bleach then blot around the skull. The freezer paper may start to come up, its ok just blot it so it stays in place.

Then once you start to see the bleach work spray a bit to fill in the other areas.
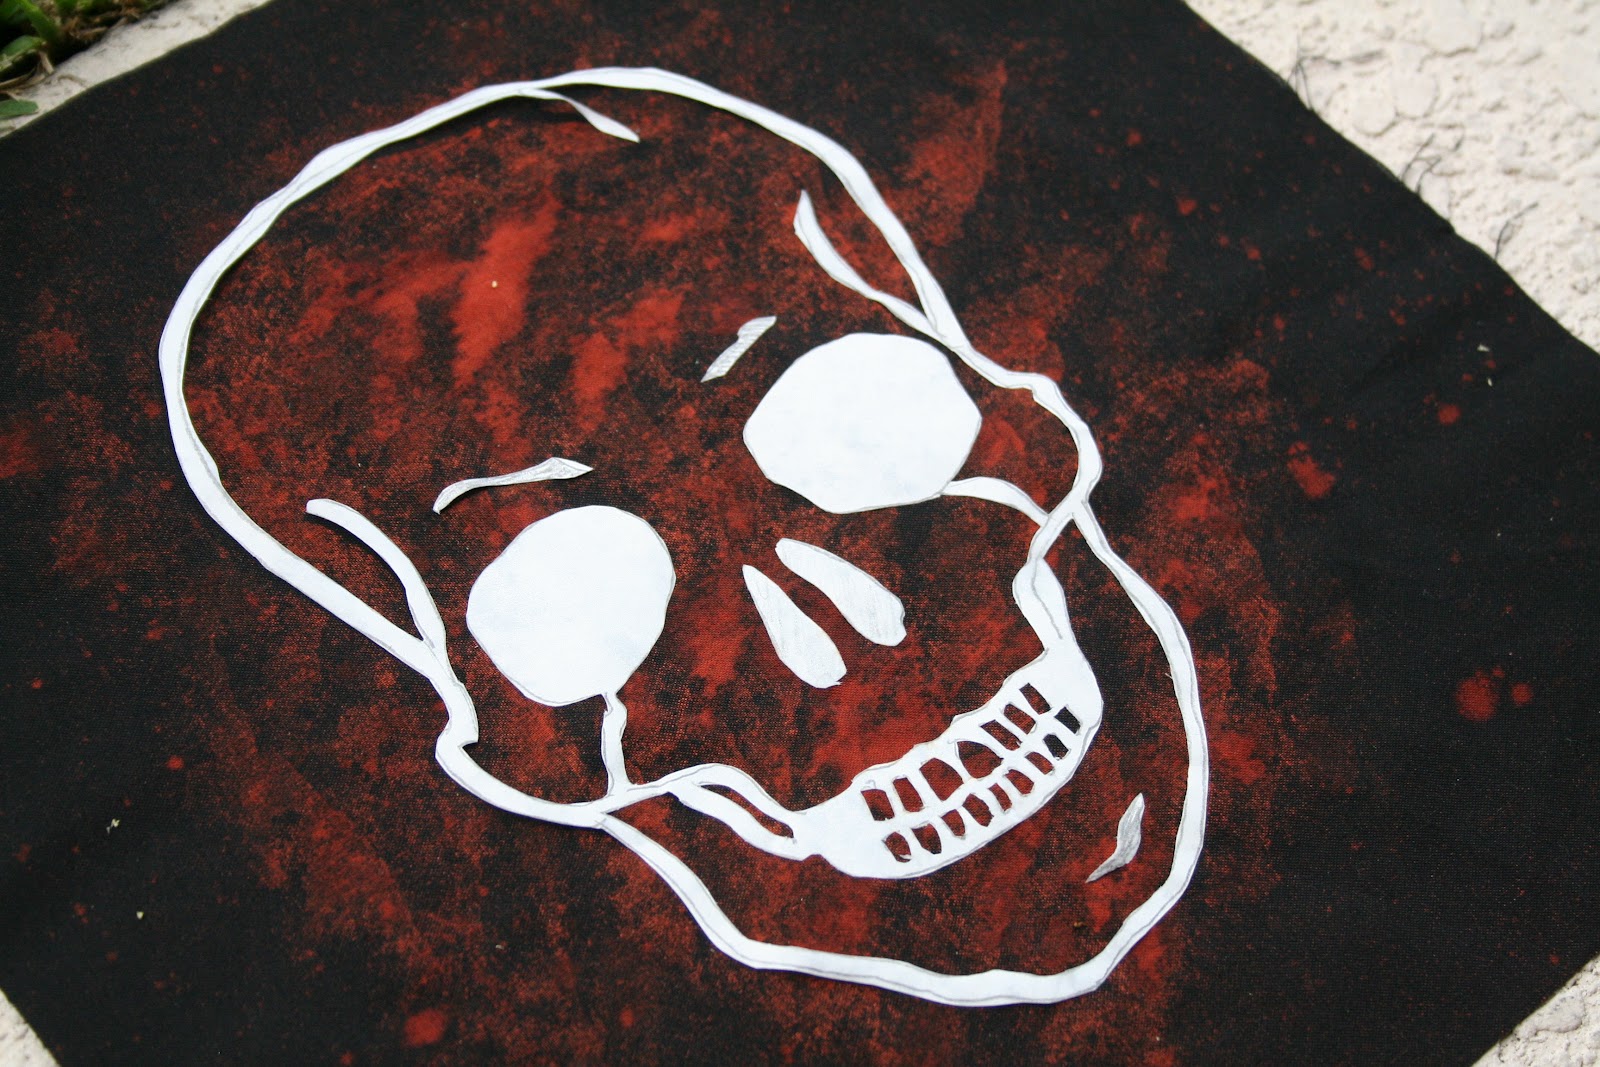
Once it has turned as much as you want, about 5 mins or so, peel off the freezer paper and then wash on the gentle cycle. I let it air dry to avoid any shrinkage.

Ok there is a little disclaimer before we move on, I am a self taught MacGyver of a sewer. I do what works for me and cross my fingers it turns out, soooooo with that said here is the rest of my tutorial.
I wanted a pom pom edge, so I sewed the pom poms to the back side of the fabric, with them facing in. Then laid the front skull piece on facing inwards, sewed the edges then before closing completely stuffed until I could stuff no more. Lastly I hand sewed it shut.

Once he was done, I thought something was missing.
So with a little gold paint I gave him a little mouth bling.


He is pretty awesome.
And Bean has started calling him "the cool guy" so he might be around longer then just Halloween.
Hope you enjoyed. Please feel free to ask any questions!
Also to see a different take on this project head over to my blog today.
Thanks again for having me today Triple J!


this post is sponsored by:


No comments:
Post a Comment