Hallo! I'm Amy from
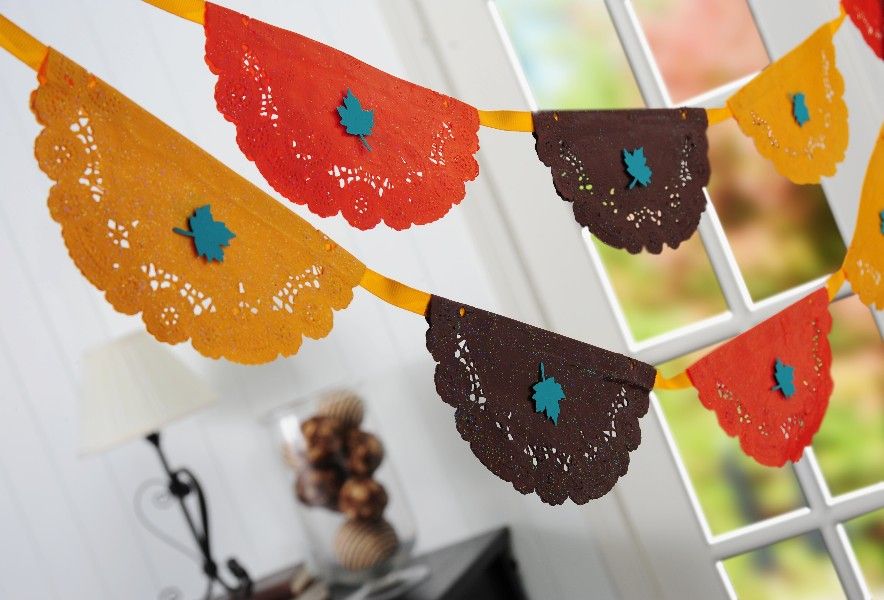
Mod Podge Rocks. Other things rock too, but there's something special about my favorite glue. It really does everything, and that's why I came here today. I love crafting with Mod Podge, and I wanted to share one of my favorite things to make lately - banners. They are easy and very budget friendly; you can make one for any holiday. Not only have I made a Thanksgiving banner, but it also incorporates a special treat: doilies! Plus it's sparkly. I know, the surprises never end, right? Here's how to make my fun and festive Thanksgiving banner.
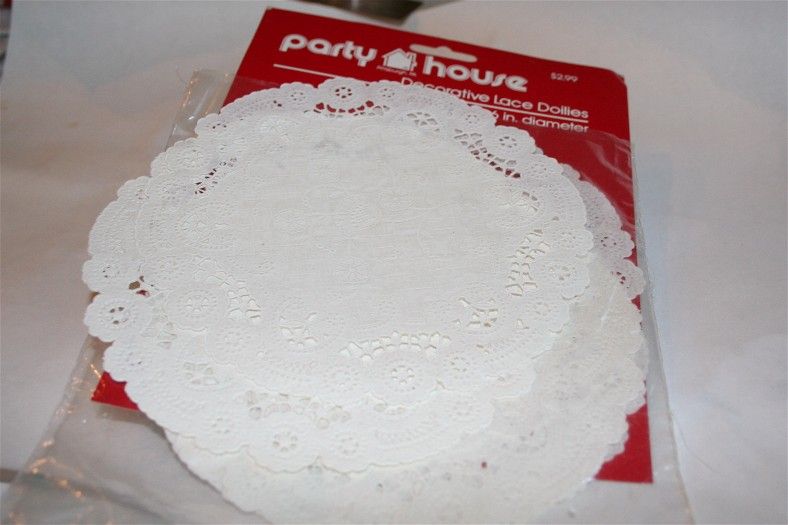
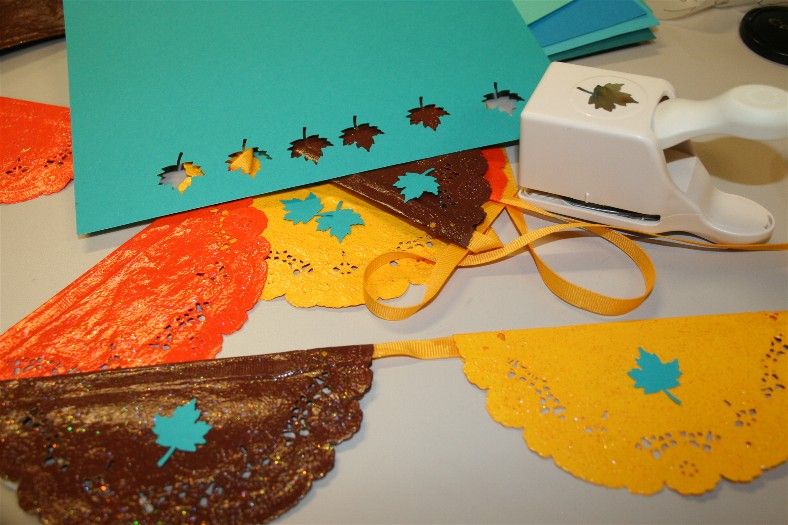
Gather These Supplies Paper doilies - mine are 6" round, from any party store
Mod Podge Gold Glitter FolkArt Acrylic Paint - Coffee Bean, Medium Yellow, Pure Orange
Scrapbook paper, teal - one sheet
Martha Stewart Leaf Punch Mini Pop Dots Ribbon, coordinating - I used about 9' of yellow
Craft Glue
Brayer
Paintbrush
Paper doilies. I would have a tea party, but these babies have another fate.
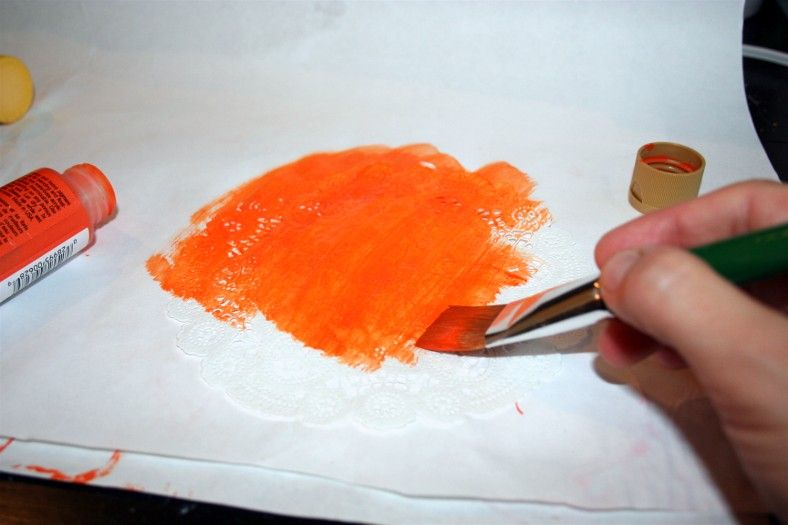
Paint each doily with the color of your choice. I chose three coordinating fall colors and painted three of each for a total of nine doilies. You'll want to give each doily several coats of paint on both sides, so that when you fold them no white should show. Allow them all to dry.
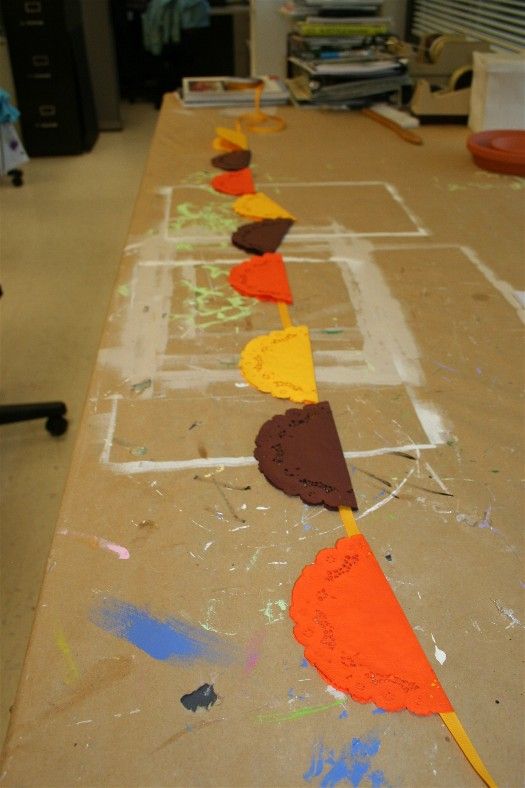
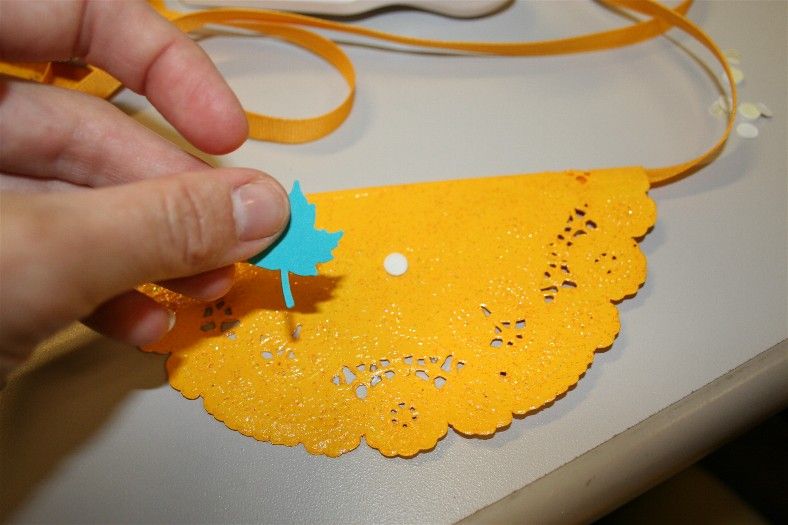
Fold all of the doilies in half and find a long table - roll out the ribbon and then place the doilies along it in a pattern that makes sense to you.
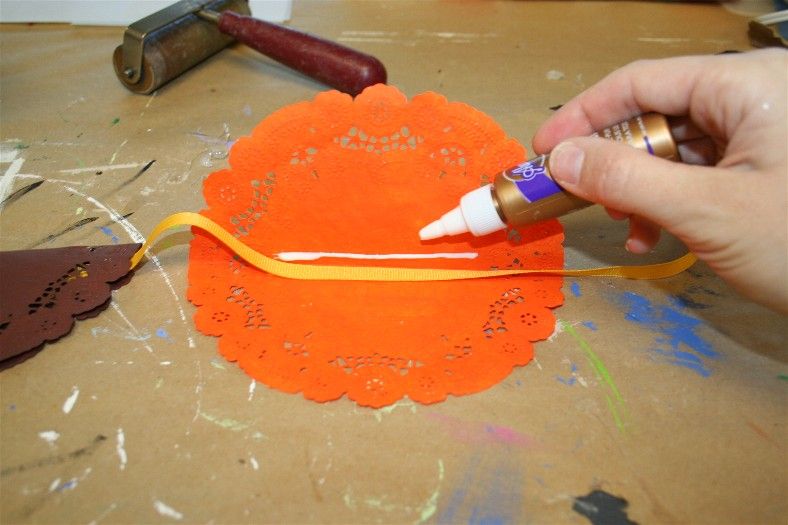
Glue each doily down with a thin line of glue, but only at the top near the ribbon. You are doing this to secure the ribbon to the doily, which will help you for the next step. Be careful about making sure there is a equal distance between each doily along the ribbon.
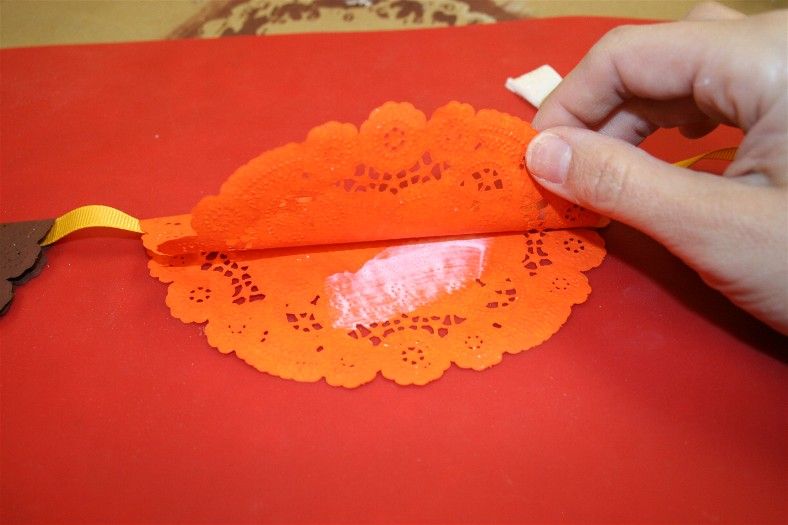
Use your Mod Podge Gold Glitter to glue each doily closed. Use a medium layer of Mod Podge. Only work with one doily at a time, or you'll have a huge mess.
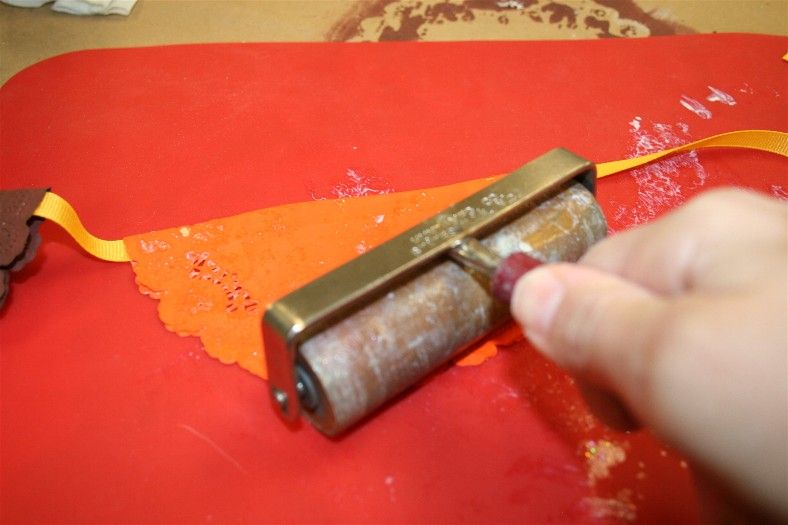
Once you have a doily and Mod Podge sandwich, roll the doily out flat with a brayer. Some Mod Podge will squeeze out, but this is okay. Just make sure that you wipe any big globs off of the doily with a paintbrush.
You may want to glue a few doilies onto the ribbon, allow some drying time, and then repeat. You won't have to worry about gluing your children and pet rabbit to the banner if you do it this way. This is especially important if your banner is long.
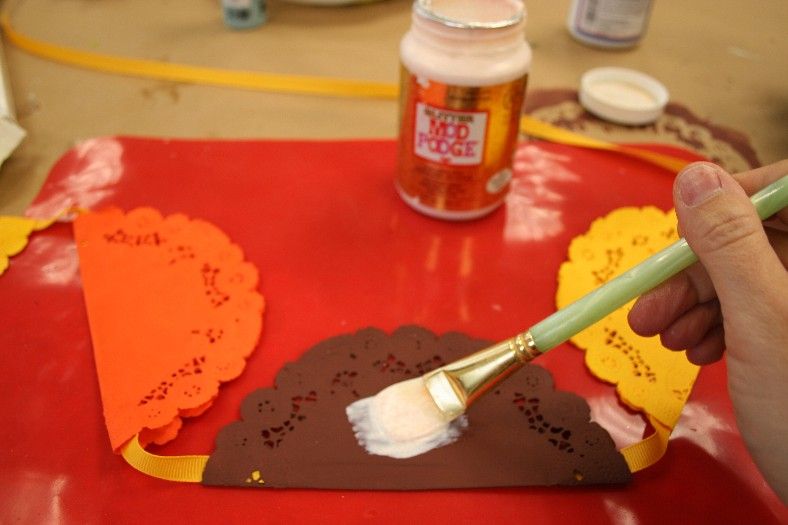
Coat the outside of each doily - both sides - with the Mod Podge. I would paint the banner on one side, allow to dry, then turn over and paint the other side. Allow to dry.
Punch out leaves from the teal paper. I punched 18 leaves - nine for one side of the banner and nine for the other.
Attach the leaves to the banner with Pop Dots, making sure to switch the orientation of the leaves on each piece. Your Thanksgiving banner is complete, and because you made your own decorations you might now be almost as popular at dinner as the pumpkin pie.
Thanks so much to Jen, Jamie and Jodie for having me; eighteen25 readers rock just as much as
Mod Podge Rocks readers. Swing by
Mod Podge Rocks any time for 24/7 decoupage projects and advice. I'd love to have you. Happy Holidays!
.....................................................
Thanks Amy! We think YOU and your Mod Podge Rocks!! Thanks for sharing this fun fall banner with us! It's the perfect decoration to whip up before Thanksgiving. :)
...and we believe you can never go wrong with sparkly!!
Now... you'll want to head over to
Mod Podge Rocks because we are sharing a couple projects over there today. One just happens to start with SUBWAY and end with ART!! Go fast!! :)


No comments:
Post a Comment