
Hey eighteen25-er's!
It's Shelley Smith from


I'm so excited to be participating in such a fun, "spooktacular" event! :)
First of all, I have to be honest... I'm not usually much of a "Halloween decorator"
so this was a challenge for me. lol.
Blood & Gore + Shelley = ......plugging ears, closing eyes, and nightmares...not so good. LOL
So I decided to take "Halloween Decorating" to the NEXT level, this year.
Classy, affordable, spooky, and just a little eerie.
Everything that I bought was done on a very reasonable budget!
Mostly because Halloween (for me anyway) isn't the type of decor I leave up for long.
So if you like something you see... I'm pretty confident
you'll be able to implement a lot of the same ideas, in your OWN home,
and not have it leave your wallet empty :)

I started out this whole Halloween idea with this fun table candy display!
It's a great way to bring color, and maybe a little "ew" factor into Halloween, with
fun homemade labels and some creative new candy titles :)

I even got my 4 year old twins in on this one. They were more then excited to come up with
"creepy candy names"


Once we had them all written down, I printed them on a thick card stock,
in the CK Frankfurt font,
Cut them out,
Mounted them on some brown packaging paper (bought from the salvation army for $1.00)
Distress Inked the edges of the card stock, and slightly burned the edges of the
brown paper,
Put black eyelets on the outsides... ran some twine (also a $1.50 purchase at the thrift store) through them,
and tied simple knots on the ends, to keep them from falling out!


So easy!

*All of the Jars were bought from thrift stores for under $3.00 each
*I used Spanish Moss from my local craft store $2.99 for the entire bag
*And spray painted white, the corn husk pumpkin that I found for a $1.00, also from a thrift store.
Next:
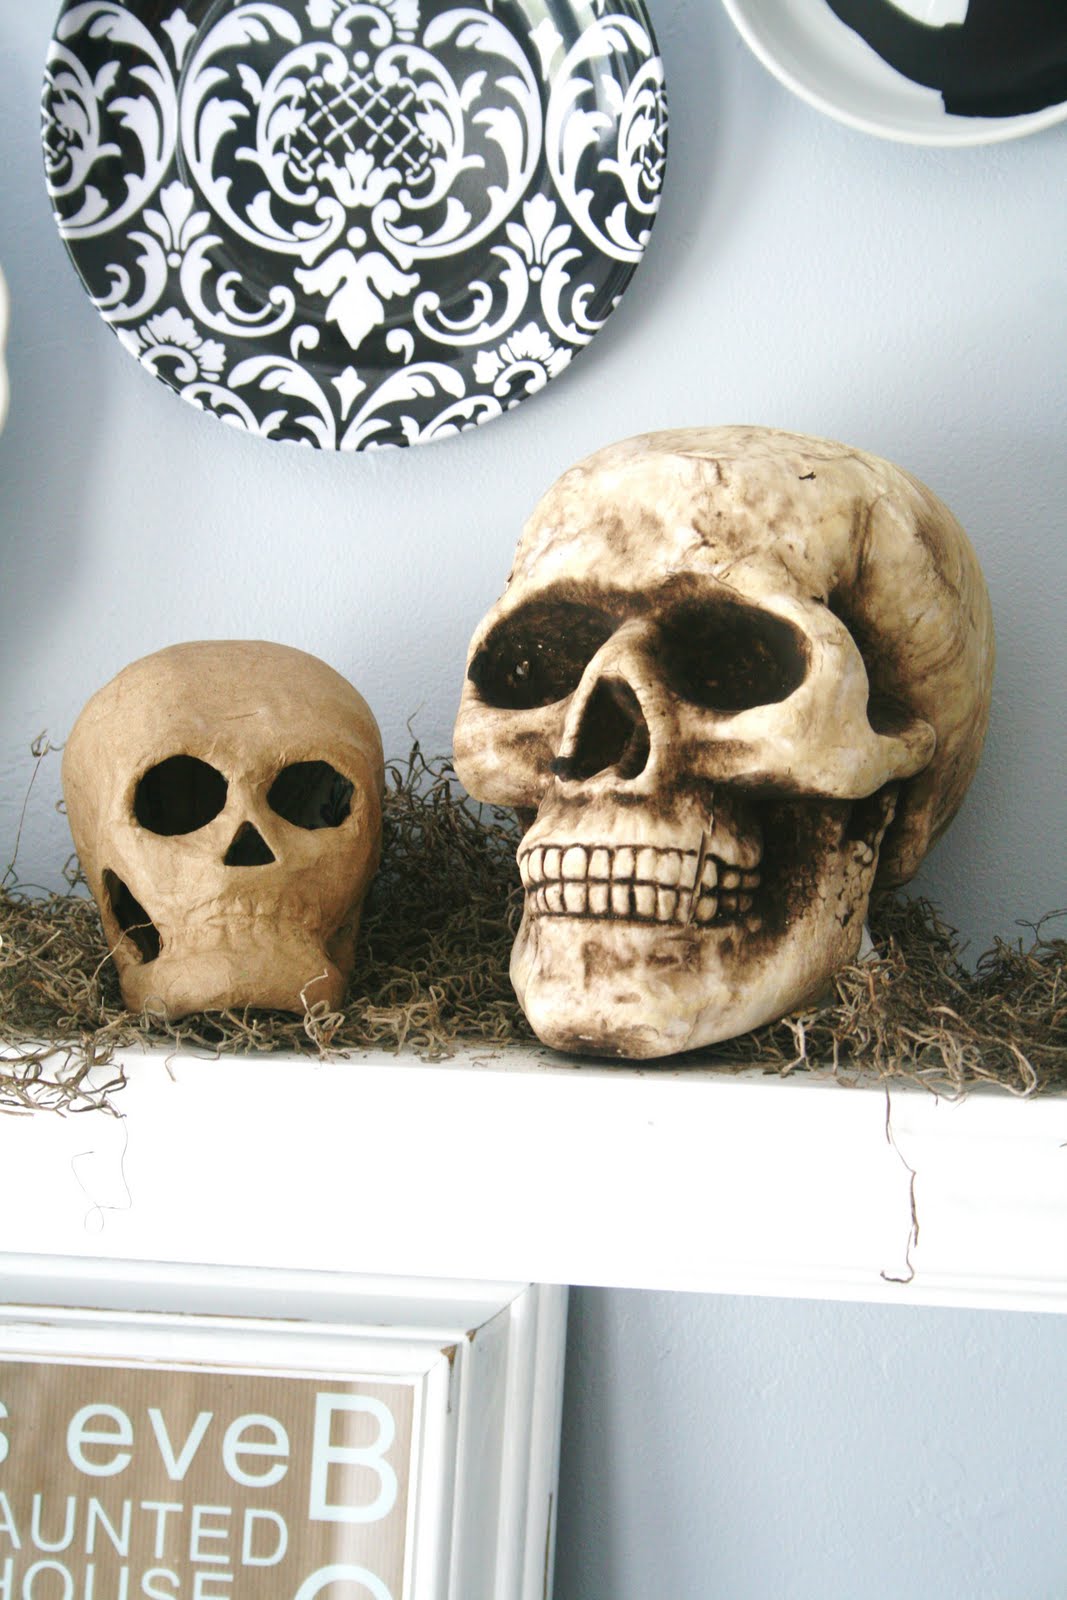
Halloween-ing up our shelves! :)

All these fun plates were found on clearance or at thrift stores :)
the smallest plate is actually the bottom of a plant stand
All BUT the damask plate have vinyl decals, that I applied, on them.


You can buy these vinyl decals HERE

Like I said... the Damask plate was bought, as is for $3.00 at Hobby Lobby,
and the skulls were purchased at Michaels Crafts for $1.99 and $5.99
I hung all the plates, using paper cutout guides first...
then used hot glue and ribbon to make a loop on the backs of the plates,
and small picture hanging nails to hang them on the wall.
ya... this plate was like .38 cents. LOL. I love it :)


Here's the breakdown for the bottom shelf!

I found this wood stand from Salvation Army for $1.50, and sprayed it gloss black.
Then bought a $3.00 pumpkin/gourd from Michaels Crafts, sprayed it with a couple coats of white,
and then took some sandpaper to it, to bring out the original green/yellow tones.


Used some more of that Spanish Moss and made sort of a centerpiece :)

This small frame was .50 cents.

I designed my image in photoshop and then put it in the frame.
Easiest project to date. lol


Halloween Subway Art:
Subway art is EVERYWHERE.
I hadn't jumped on the "bandwagon" yet...
So I thought... better late then never :)
This is MY take on it.

Bought a $3.00 frame with glass, from the thrift store,
spray painted it flat white...


and then took sandpaper to it, to distress the edges.

Applied my mirrored vinyl decal, that again, you can get HERE
backed the cardboard with brown packaging paper...


...and WA-LA!

Found this cool bottle at the thrift store, also...
adhered another small vinyl decal, some twine, food coloring, and "drink me" tag to it, that I made.


I filled this thrift store vase with Dollar Store small skulls and shells I found from
our recent trip to Bear Lake
total cost = $3.00

TIP:
If using small shells like these, from a trip.
boil them first, to get rid of all the "yucky-ness"... LOL
and then lay them out to dry for a few days.


Dollar Store crow, Thrift store bird cage... and more Spanish Moss.
total cost about = $5.00

The book of spells is actually an old photo album, covered in brown packaging paper, again...
with a small vinyl decal on the side.


FRIGHT Garland
Used (yes again) the brown packaging paper and white cardstock printed letters in

Cut about 3 inch strips, accordion-ed them, and then glued the two ends together,
to make a circle.


Cut out the printed letters in circles, and distress inked them,
punched a small hole in the brown paper, and strung some more of the
twine through each of them, to make garland.


WHEW! lol.
You ladies get all that!? :)
Hope so.

This was a BLAST!
And I have to say... I'm pretty excited to be READY for a holiday almost 2 full MONTHS before it even gets here!!!... that NEVER happens. ha!
GIVEAWAY
So... because I know how GREAT it feels to get my Halloween holiday decorations up and ready for those fun parties and trick or treaters, I thought it would be great to start YOUR Halloween off with a bang! I'm offering one lucky eighteen25 lady the chance to win a Halloween Subway Art Decal, of their very own!!!

To enter: Simply leave a comment on this post!
GIVEAWAY
So... because I know how GREAT it feels to get my Halloween holiday decorations up and ready for those fun parties and trick or treaters, I thought it would be great to start YOUR Halloween off with a bang! I'm offering one lucky eighteen25 lady the chance to win a Halloween Subway Art Decal, of their very own!!!
To enter: Simply leave a comment on this post!
Thank you SO much, Jennifer, Jamie, and Jodie,
and ALL you fabulous eighteen25 readers,
for letting me share all my fun ideas!
Feel free to stop by

and say hi! :)
THANKS!
~Shelley Smith
*******************
is this awesome or what?
i've been a good girl and withheld from pulling out all my halloween decorations so far this month. BUT after this.... i had to go dig it all out! who says you have to wait till october 1st anyways? not me!!
thank you so much Shelley for sharing all your creative goodness with us here and on your blog.
i love every post of yours! (and your dancing is pretty good too :) )
forgot to add:
giveawaywill be open till friday night is now closed and the lucky winner will be announced on saturday!!
good luck!!
*******************
is this awesome or what?
i've been a good girl and withheld from pulling out all my halloween decorations so far this month. BUT after this.... i had to go dig it all out! who says you have to wait till october 1st anyways? not me!!
thank you so much Shelley for sharing all your creative goodness with us here and on your blog.
i love every post of yours! (and your dancing is pretty good too :) )
forgot to add:
giveaway
good luck!!


No comments:
Post a Comment